Quality Control
External Appearance Quality Control Range
| Milling Face | ||
|---|---|---|
 |  |  |
|
|
|
| Untreated surface | ||
 |  |  |
|
|
|
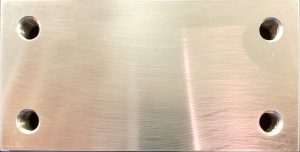
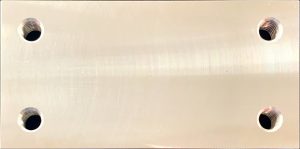
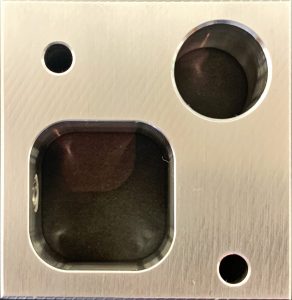
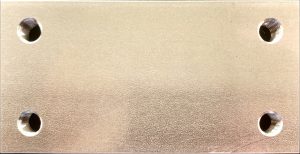
- No hooks and a dot gauge guarantee of scratches of 0.7 mm or smaller.
-
Surface roughness: √Ra6.3 or 3.2 [√Rz25 or 12.5]The surface roughness value conforms to the value set by the user.
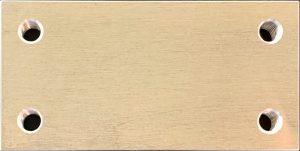
- Depending on the material and size, the product may be shipped with an untreated surface (polishing and rolling).
Surface Treatment
| Suspension method image | Surface treatment suspension and electrode contact marks | |
 |
 |
 |
| Anodized aluminum (black) | Anodized aluminum(clear) | |
- Since film thickness management is difficult for small diameter precision holes, etc., additional machining may be carried out after processing, and as a result, the surface treatment may not remain on the cutting surface.
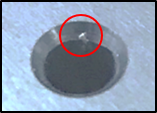
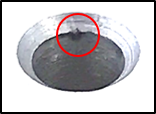
- Suspension marks and electrode contact marks from surface treatment may remain on the product.
- The color of the surface-treated product is not guaranteed.
- The exact color spec cannot be specified using Munsell or RAL values.
- Color may very, even among products with the same material and surface treatment.
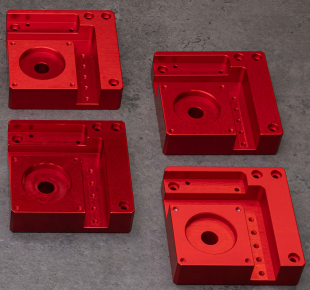
Example of Red anodizing
Example of Gold anodizing
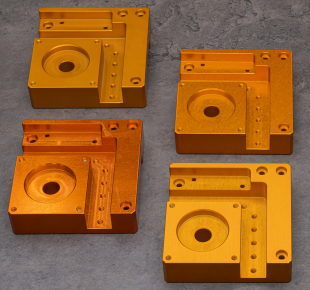
Please refer to the pictures on the left for the color of Red and Gold anodized products.
Inspection Item
Inspections are Carried Out at Each Work Stage and Before Shipment
Dimensional tolerance inspection
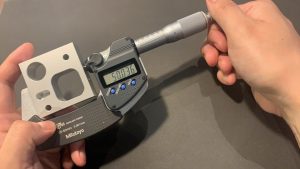
Fit tolerance inspection
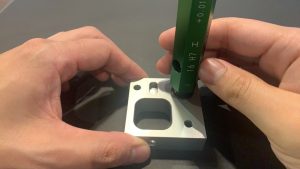
Geometric tolerance inspection
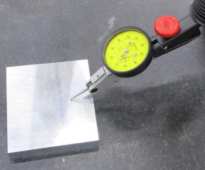
*Specifying the measurement method or providing an inspection certificate is not available.
Screw inspection, etc.
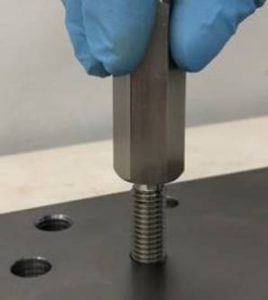
ISO2-grade (JIS B 2025) equivalent Bolts pass through in principle.
Appearance inspection
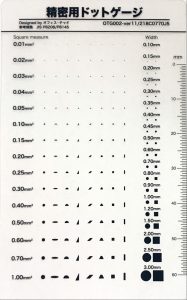

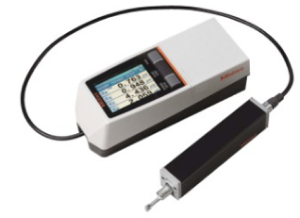
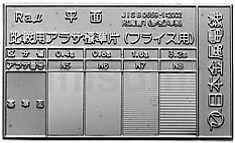
Surface Roughness Inspection
Angular Tolerance Inspection
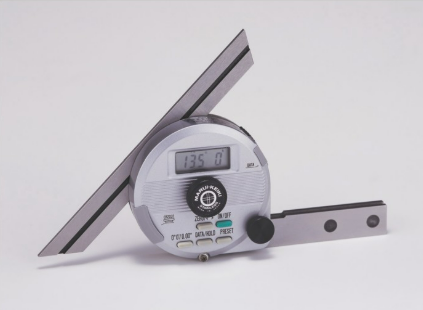
Using an angle gauge
Dimensional Assurance Range
| Corner chamfering | |
 |
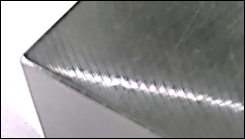 |
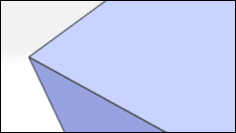
For sharp corners (C0.5 mm and smaller), the external corner chamfer tolerance is C0.1 mm to 0.5 mm, and the internal corner radius tolerance is R0.5 mm or less.
| Chamfering unspecified hole entrances | |
 |
 |
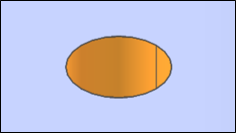
Entrance chamfer is 0.1 to 0.5 mm or less.
Ensure the specified geometric tolerances
- Specified values are guaranteed per 100 mm.
- i.e., If a flatness of 0.05/100mm is specified
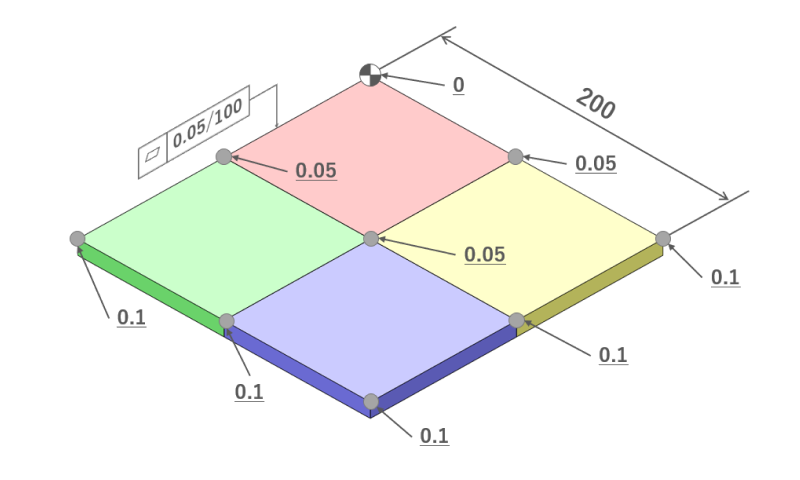
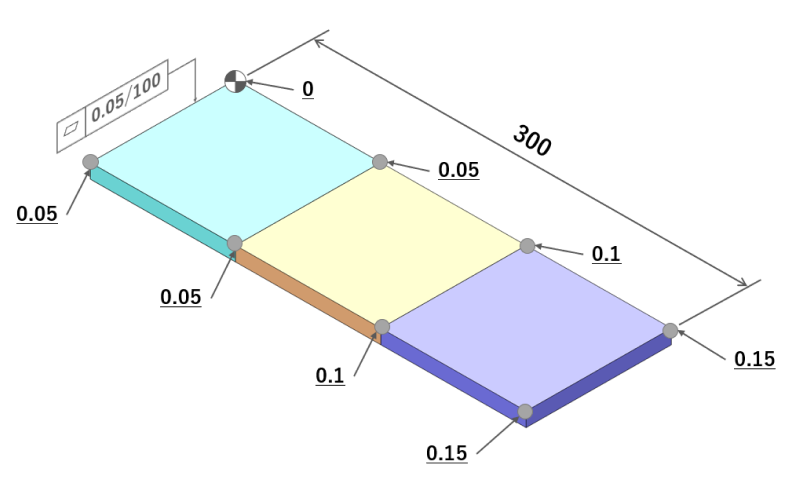
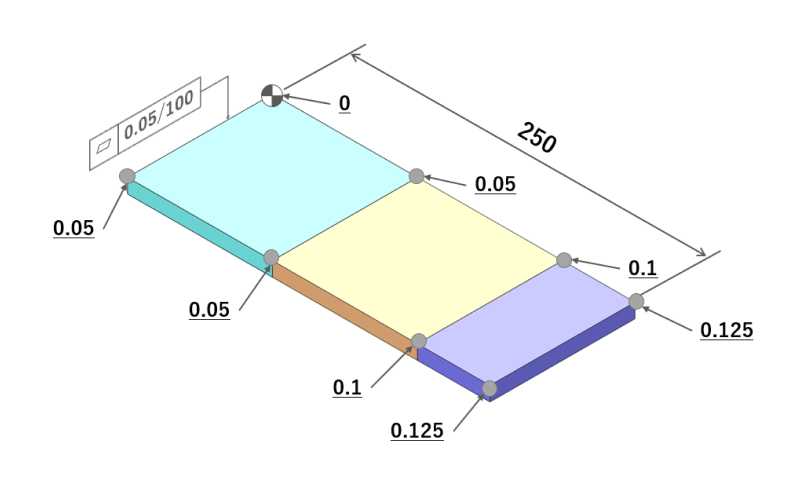
Quality inspection during engraving
Processing method
*The processing method cannot be specified
Quality precautions for engraving
- 1. There may be burrs or burns on the engraved area.
- 2. If the font size is 3-5mm, depending on the characters, there may be insufficient space between the characters or the characters may be crushed.
- 3. Depending on the material and surface treatment, the finish of the engraving may be lighter.
- 4. The “font size and angle” on the engraving are approximate values. Dimensional accuracy is not guaranteed.
- 5. Depending on the text content, the size may differ from the specified size.
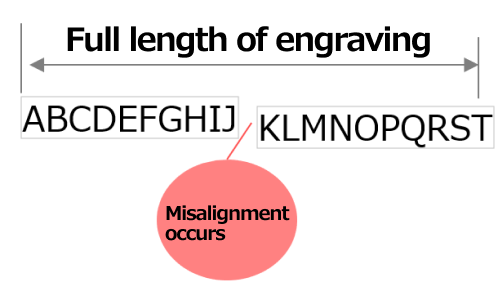
- 6. Depending on the total length of the engraving, discrepancies in character spacing and height may occur (guideline: length 90mm or more)
Example of engraved surface
No surface treatment
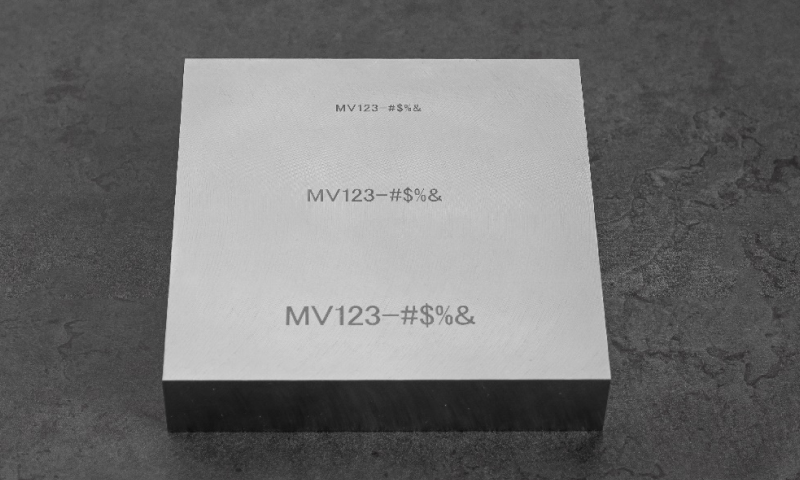
- Laser engraving
- (Material:EN 1.4301 equiv.)
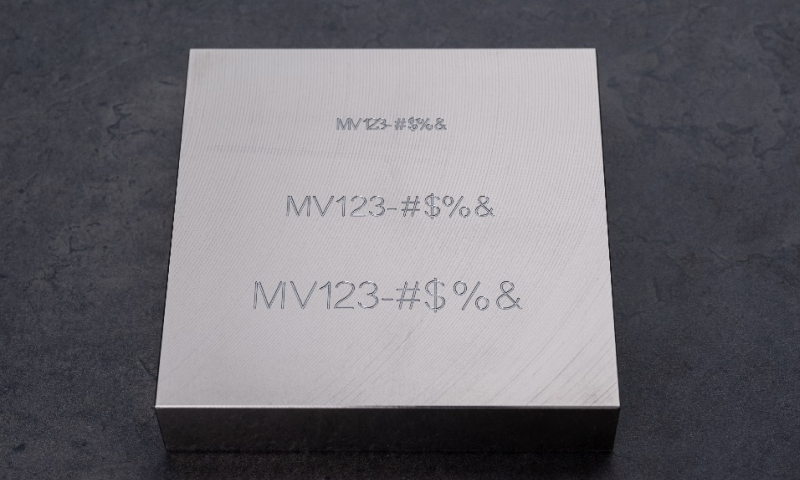
- Engraving by machine
- (Material:EN 1.4301 equiv.)
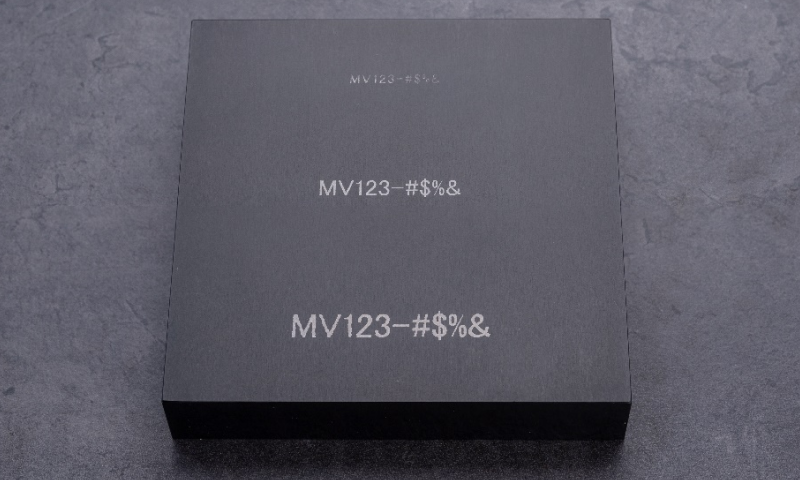
- Laser engraving
- (Material:EN AW−5052 equiv.)
- *Black anodize
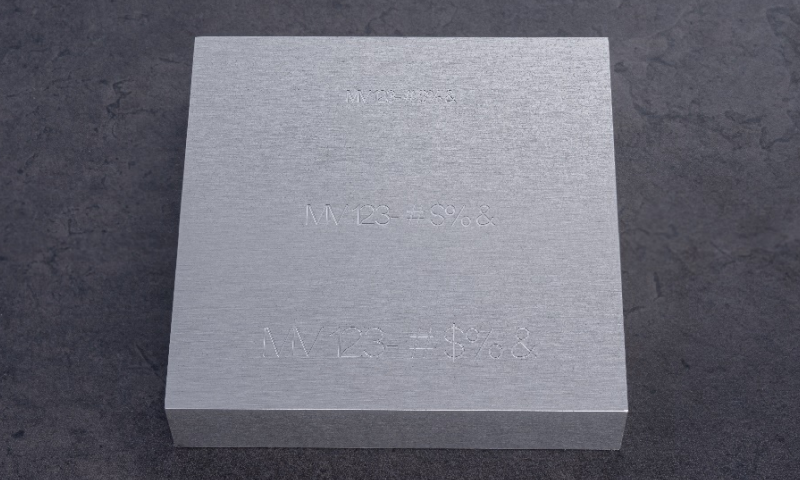
- Engraving by machine
- (Material:EN AW−5052 equiv.)
- *Clear anodize
Quenching Quality Standards
About hardening quality assurance
The hardness value specified is guaranteed and will be measured and confirmed before shipping.
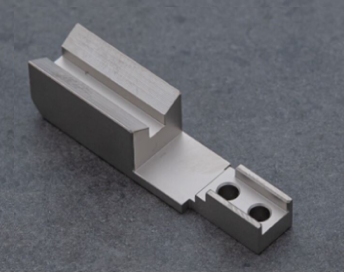
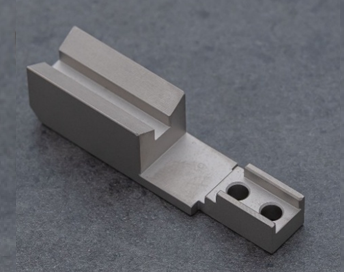
Material:EN 1.2379 equiv., Surface Treatment:Electroless nickel
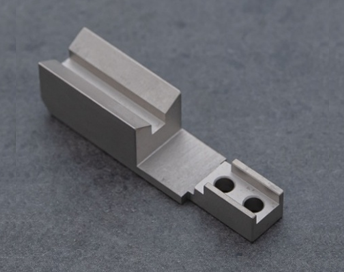
Material:EN 1.1206 equiv., Surface Treatment:Electroless nickel
Finish without grinding
Material:EN 1.1206 equiv., Surface Treatment:Electroless nickel
Finish with grinding
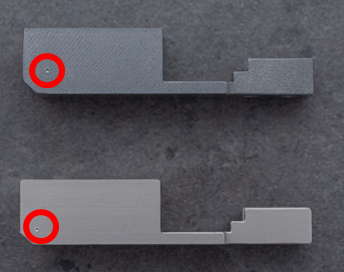
Inspection marks
Caution
- The hardened depth and distribution of heat treated areas may vary depending on the thickness and shape of the material.
- When parts are heat treated, the outer surface tends to be harder, while the inner areas tend to remain softer. During inspection the hardening will be confirmed to be uniform on average.
- The surface can be cleaned by sandblasting after hardening. The accuracy is not reduced by this process. The blasting method cannot be specified.
- Grinding may be performed during the finishing process.
- Grinding cannot be specified. Whether to grind is decided in the factory under the aspect of quality assurance.
- Hardness measurement marks may remain in areas. To confirm the inspection points in advance, please add information in the comments and request a manual quote.
Packaging
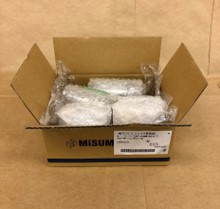
| Interior | Exterior | ||
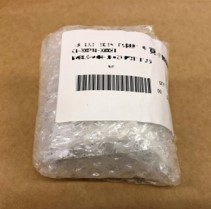
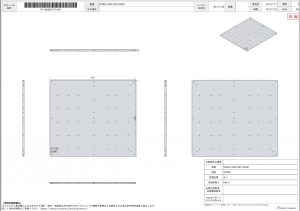
| Product packaging | Simple 2D diagram | Multiple | Single |
 |
 |
 |
 |
| Includes simple 2D diagrams 2 layers of bubble wrap around each side The product label will be affixed to the outside before sending. | Sent in a box or bubble wrap bag. | ||
Depending on the size or quantity, it will be a long and heavy item, so it may be delivered separately on a pallet. In that case, the customer needs to receive the cargo with a forklift and dispose of the pallet. In addition, we do not ship high-weight items overseas.
pallet + Stretch Film
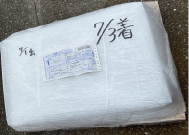
pallet + Rolled corrugated cardboard
