- HELP
- Technical Information
- [FA Mechanical Parts] Sheet Metal Parts
- Accuracy and Machining Specifications
- Allowable Dimensional Tolerances
Allowable Dimensional Tolerances
| No. | Standard Part | Classification of Standard Dimensions | Standard Values* | Example | ||
|---|---|---|---|---|---|---|
| Normal bending | R bending (FR bending) | |||||
| Plate thickness≦6.0mm | Plate thickness>6.0mm | Plate thickness≦3.2mm | ||||
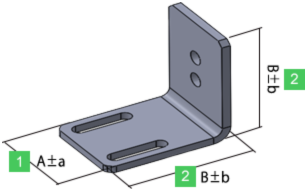
| 1 | Section with no bending | 6 or less | ±0.1 | ±0.3 | ±0.3 |  |
| More than 6, equal to or less than 30 | ±0.2 | ±0.5 | ±0.5 | |||
| More than 30, equal to or less than 120 | ±0.3 | ±0.8 | ±0.8 | |||
| More than 120, equal to or less than 400 | ±0.5 | ±1.2 | ±1.2 | |||
| More than 400, equal to or less than 1,000 | ±0.8 | ±2.0 | ±2.0 | |||
| More than 1,000, equal to or less than 2,000 | ±1.2 | ±3.0 | ±3.0 | |||
| 2 | Section with bending | 6 or less | ±0.3 | ±0.5 | ±0.5 | |
| More than 6, equal to or less than 30 | ±0.5 | ±1.0 | ±1.0 | |||
| More than 30, equal to or less than 120 | ±0.8 | ±1.5 | ±1.5 | |||
| More than 120, equal to or less than 400 | ±1.2 | ±2.5 | ±2.5 | |||
| More than 400, equal to or less than 1,000 | ±2.0 | ±4.0 | ±4.0 | |||
| More than 1,000, equal to or less than 2,000 | ±3.0 | ±6.0 | ±6.0 | |||
- *General tolerance for JIS B 0408 metal pressed products: use Grade B (plate thickness≦6.0mm), Grade C (plate thickness>6.0mm). For R bend it will be Grade C.
- *If a painting/coating is specified, the standard value for material conditions is used.
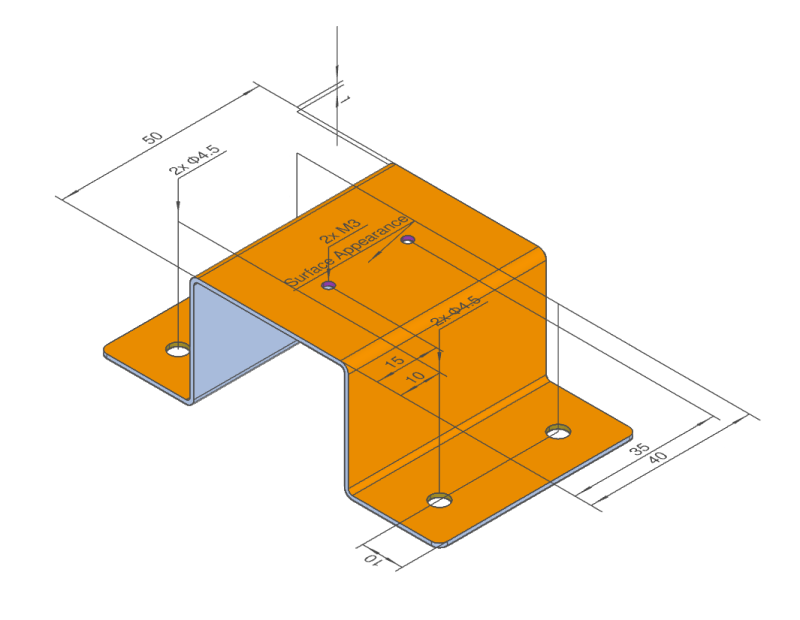
The allowable dimensional tolerances are applicable only for dimensions for between holes on the same face and end-faces/perpendicular-faces that are adjacent as a result of the bending.
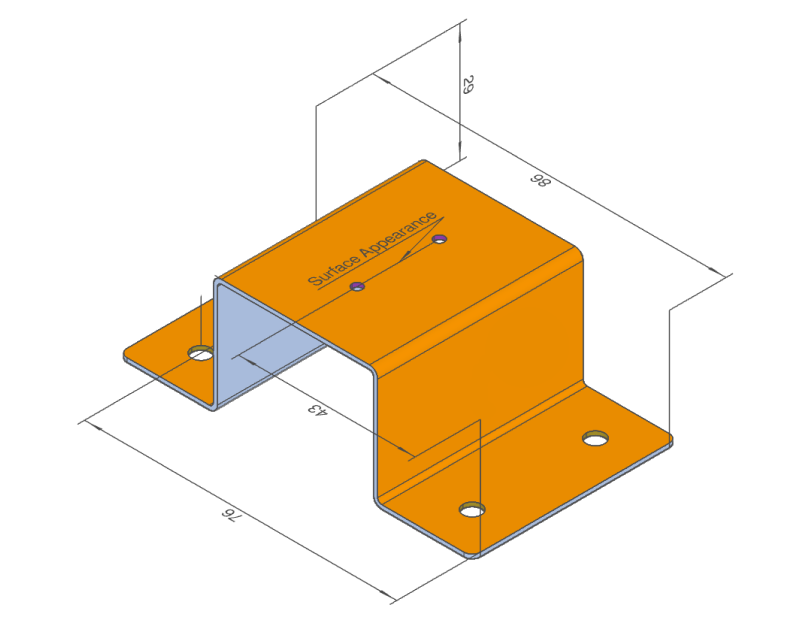
The tolerances are not applicable for hole-to-hole or hole-to-end face dimensions on non-adjacent faces (across multiple bent sections).
Example 1) Dimensions for which allowable dimensional tolerances are applicable

Example 2) Dimensions for which allowable dimensional tolerances are not applicable
