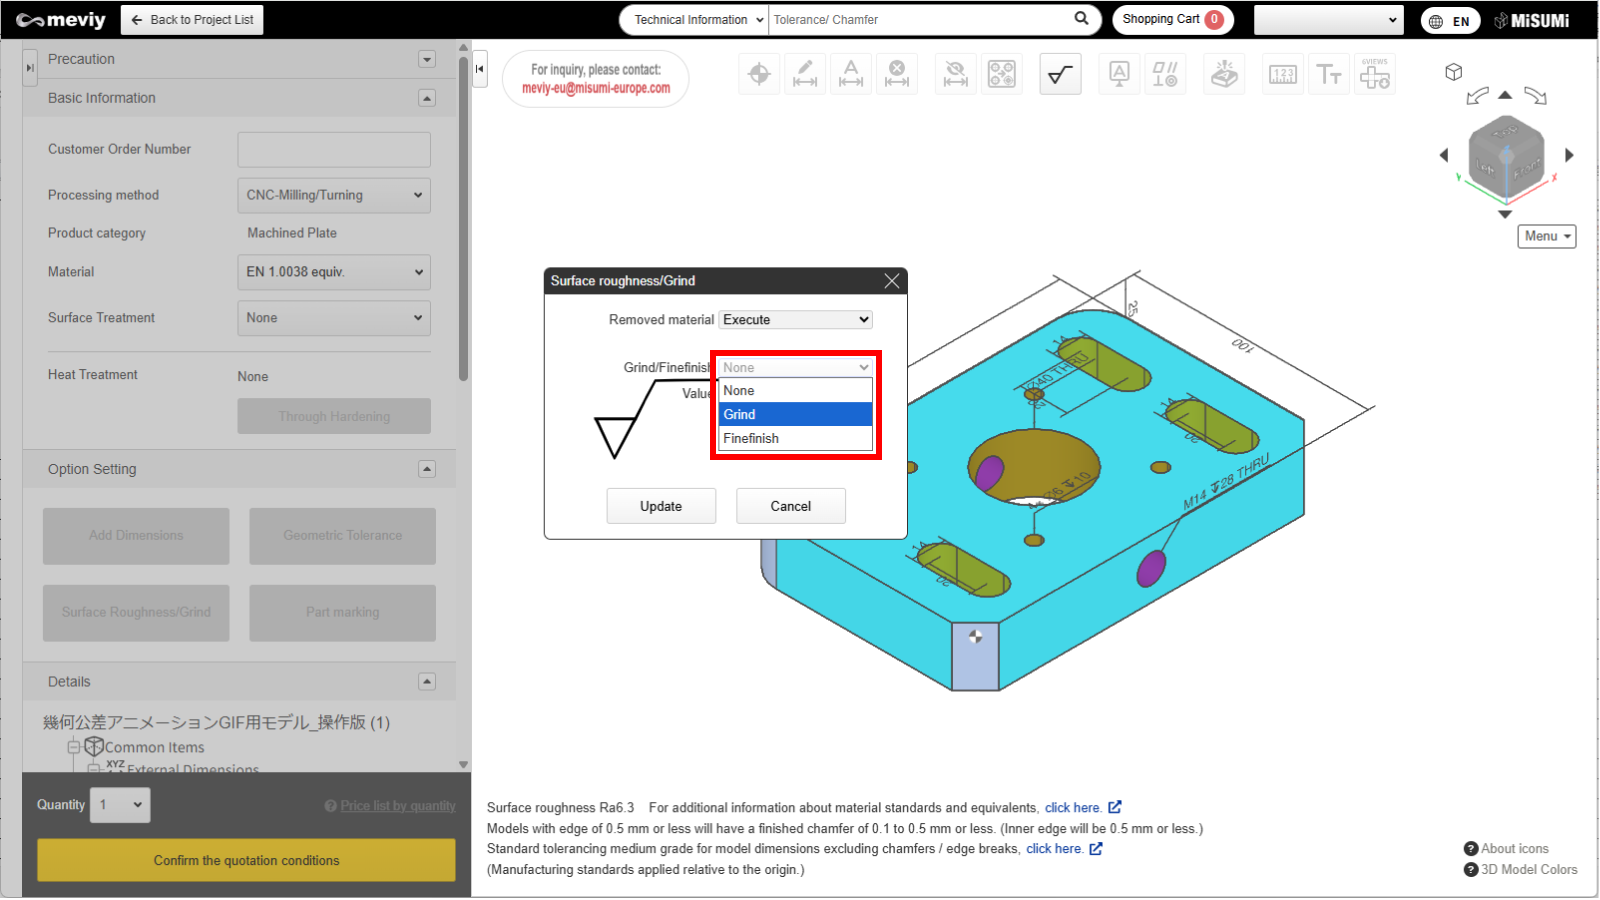
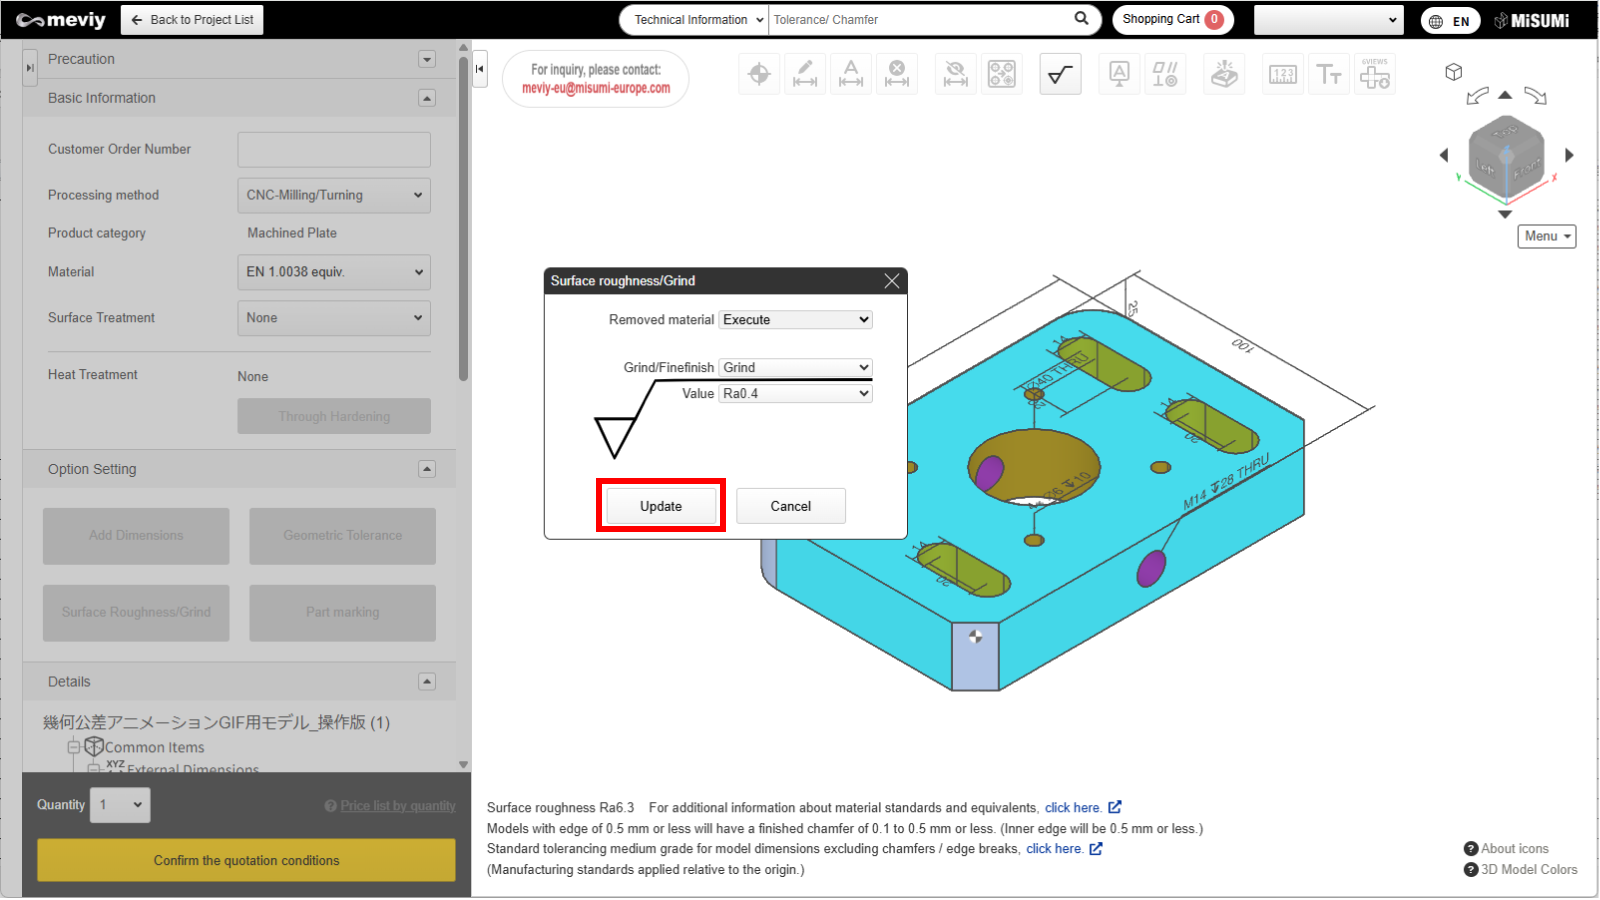
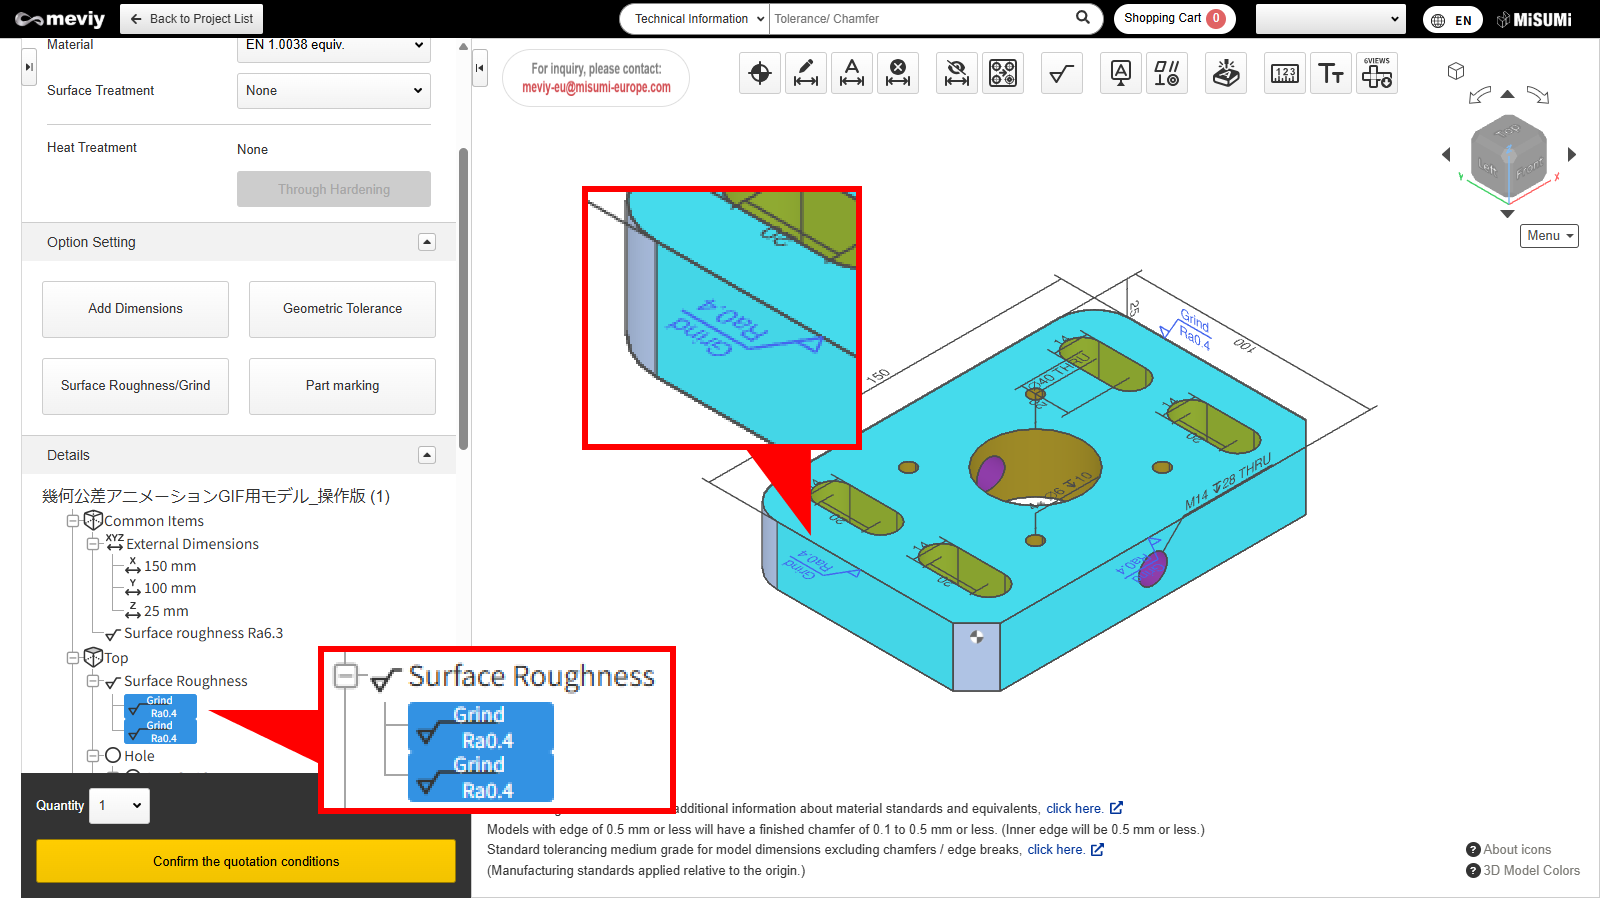
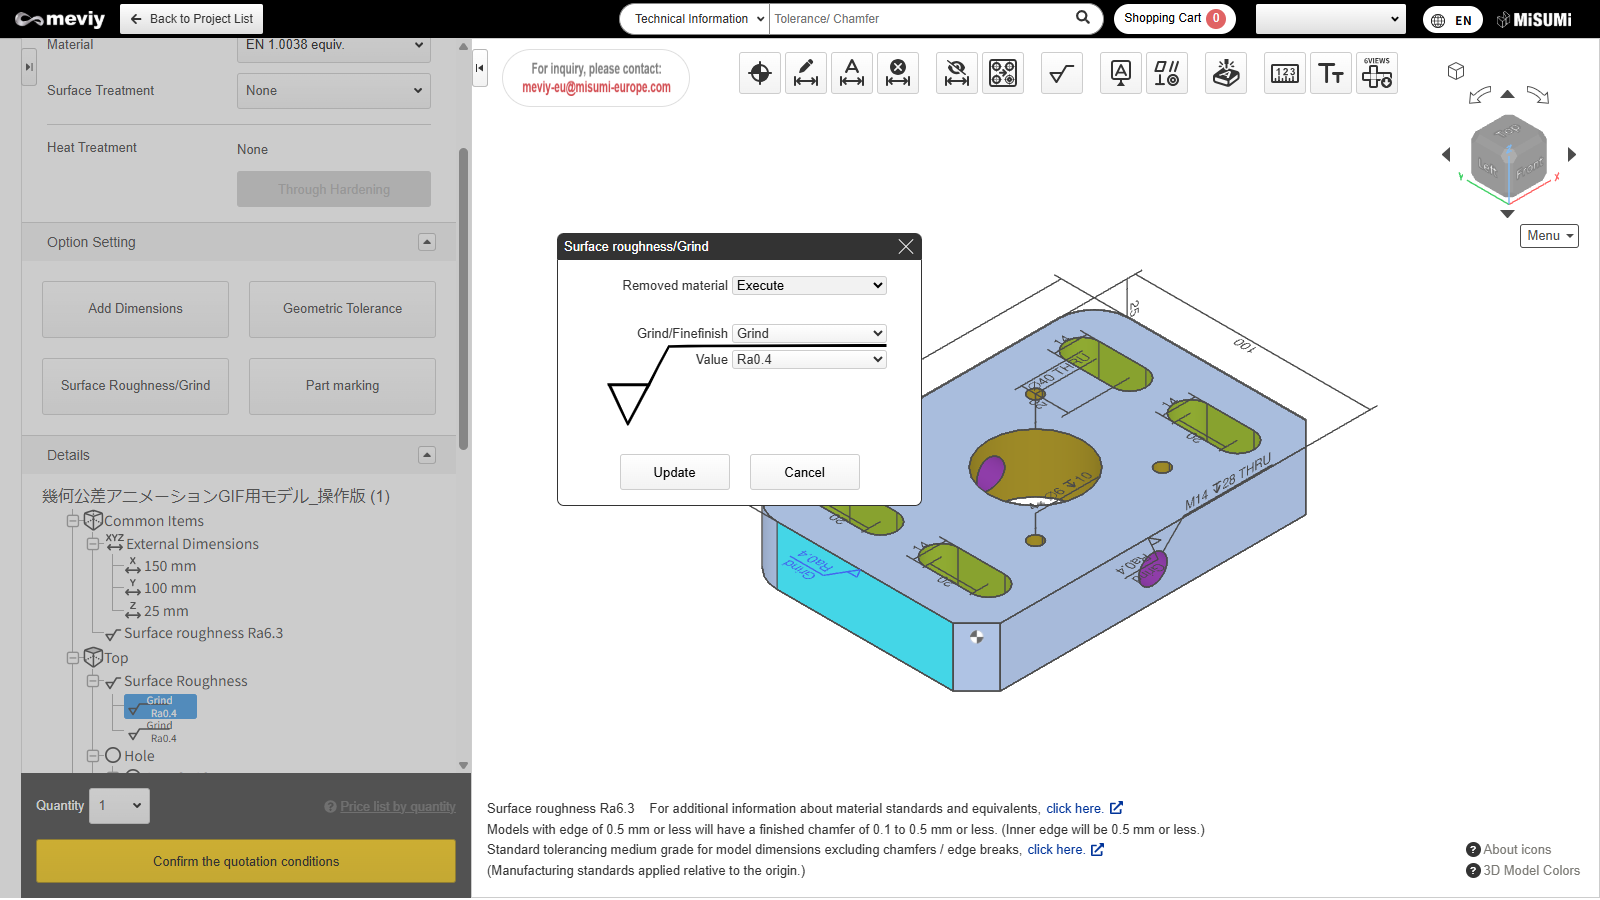
Set Surface Roughness, Grind, and Finefinish
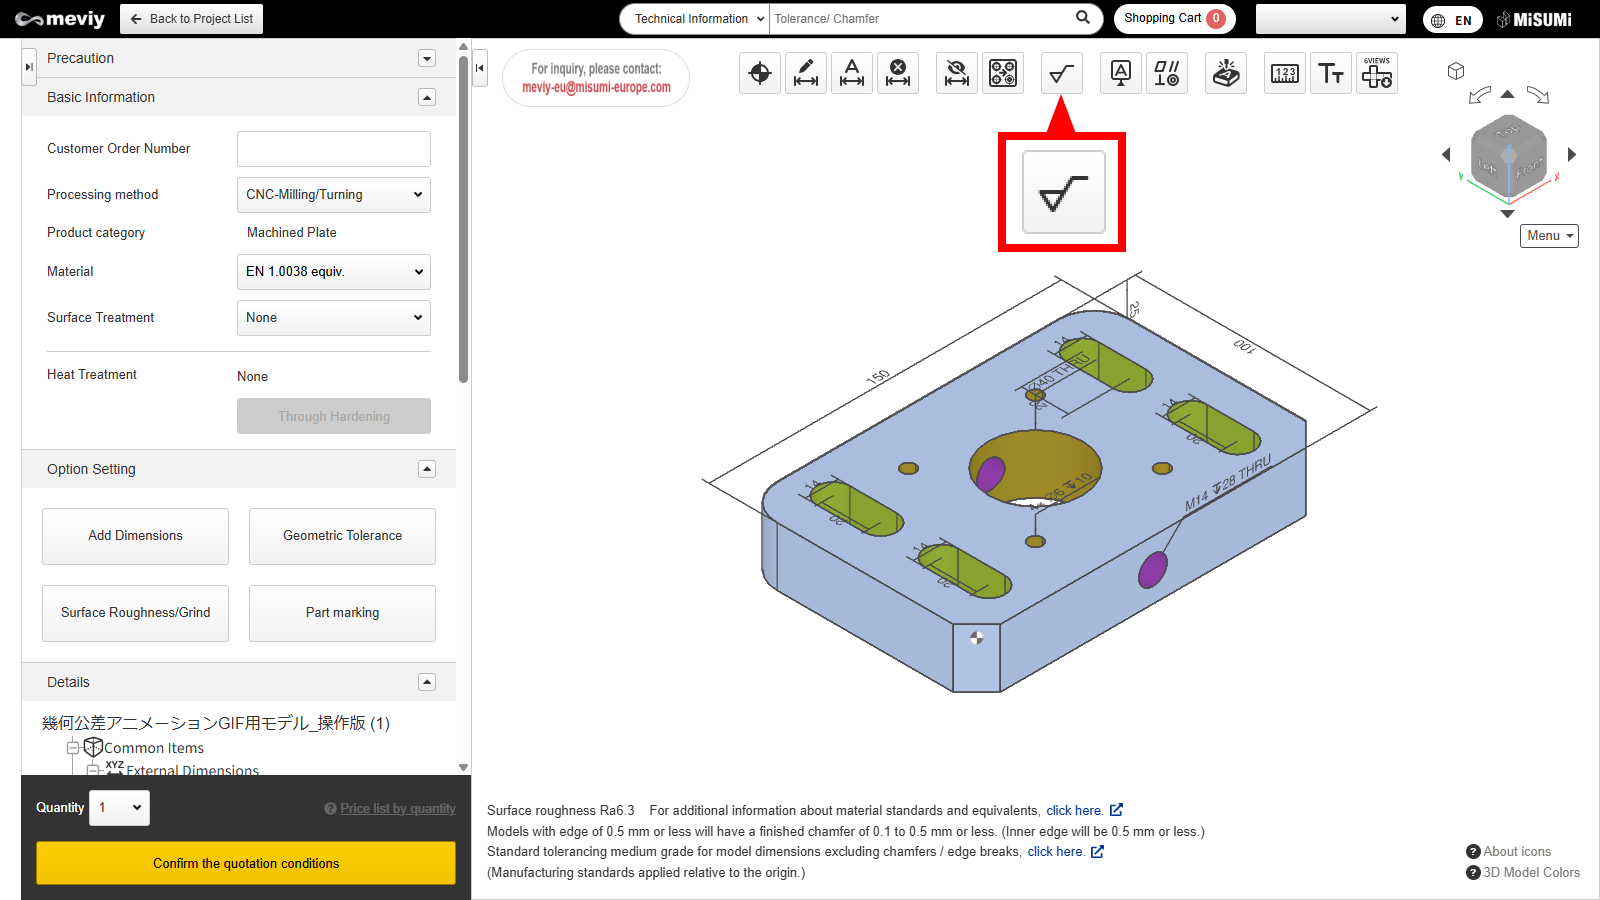
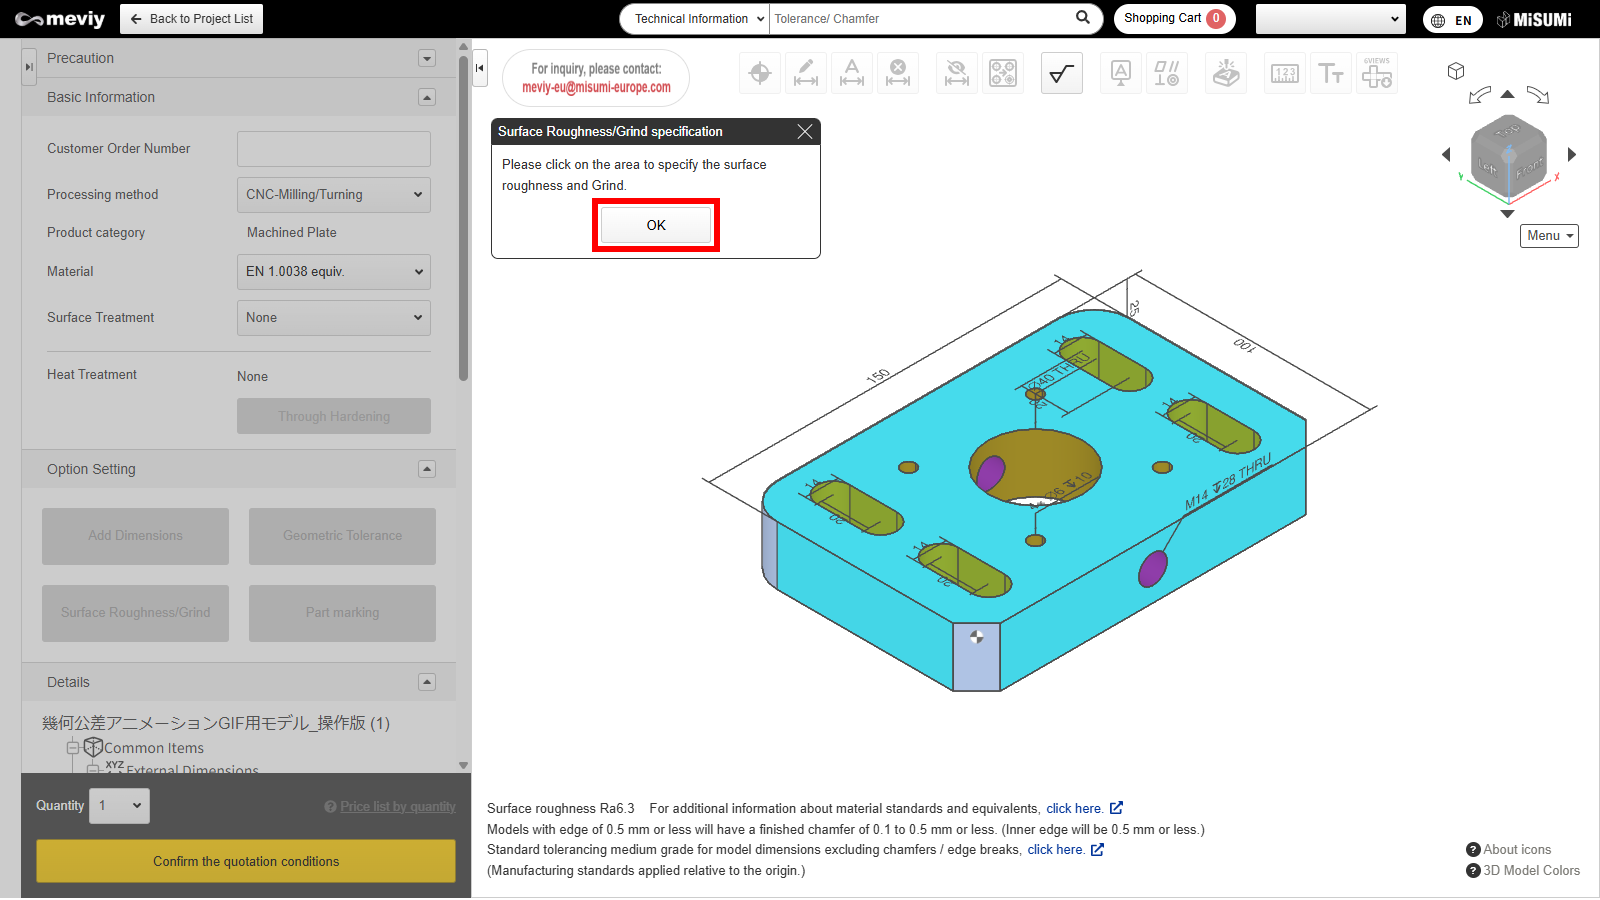
Surface roughness can be set.

Add Surface Roughness, Grind, and Finefinish

1.Select Surface Roughness/Grind from the icons at the top of the model viewer. You can also use the shortcut key (R) to select it.
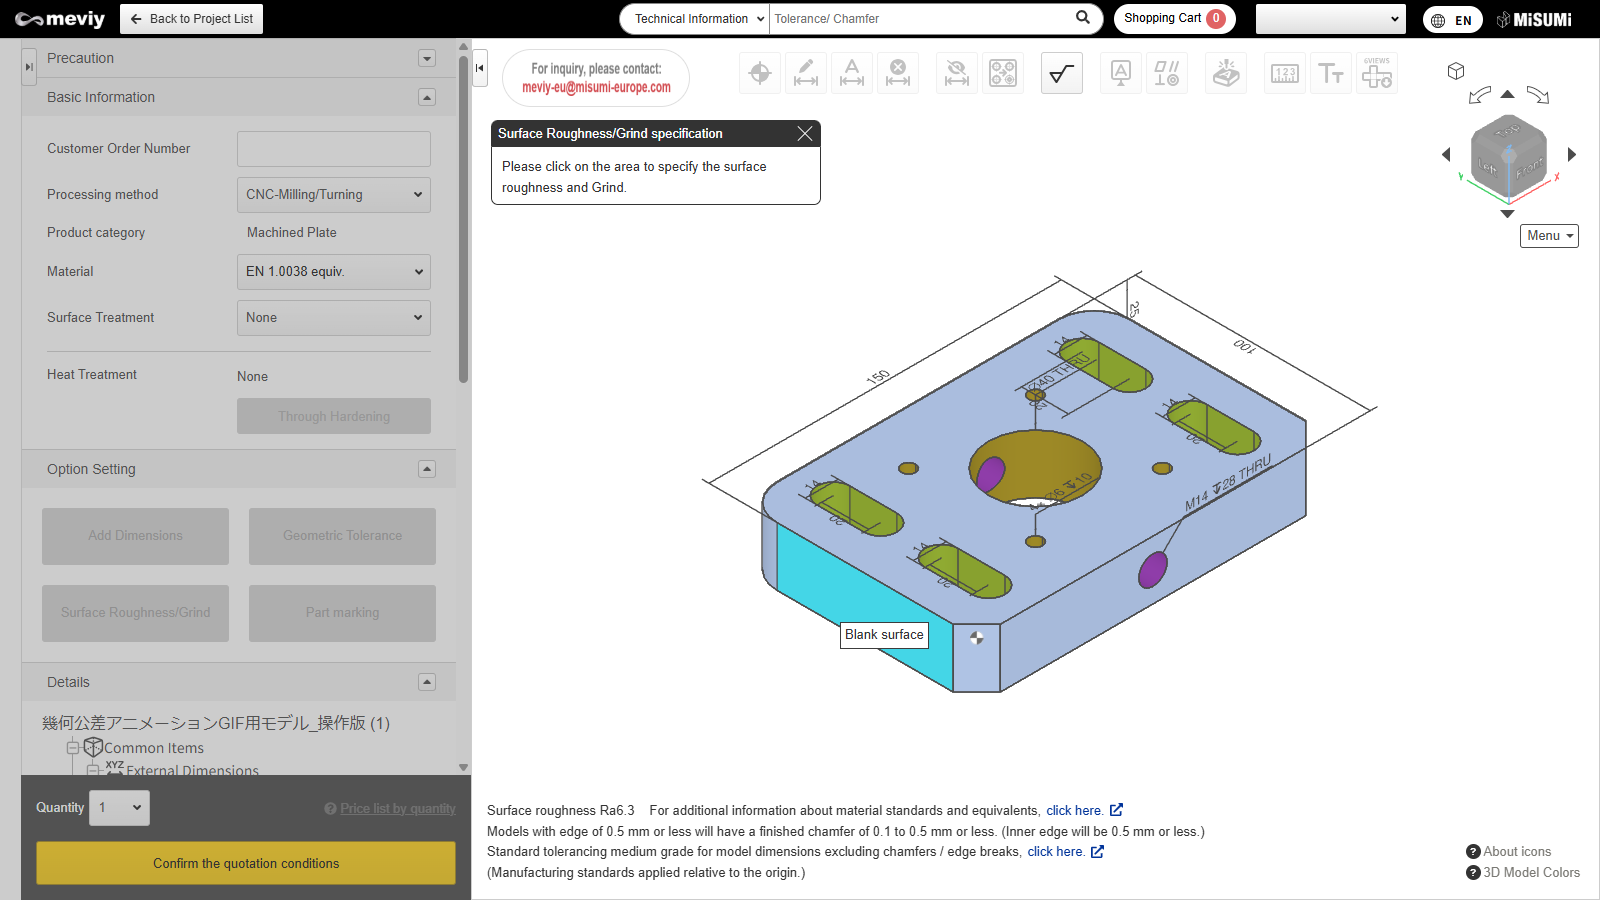
2.Select the surface for which you want to set the roughness. Selectable surfaces are highlighted in blue when you hover the mouse over them.

Caution

Surfaces that are not selectable are indicated by the icon as below when the mouse is hovered.
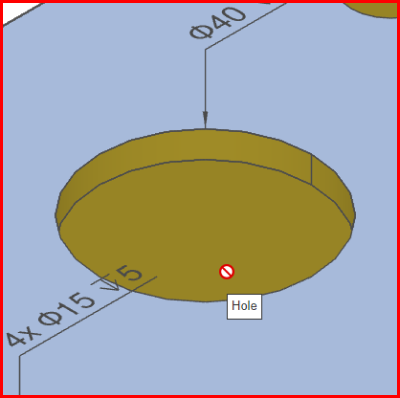
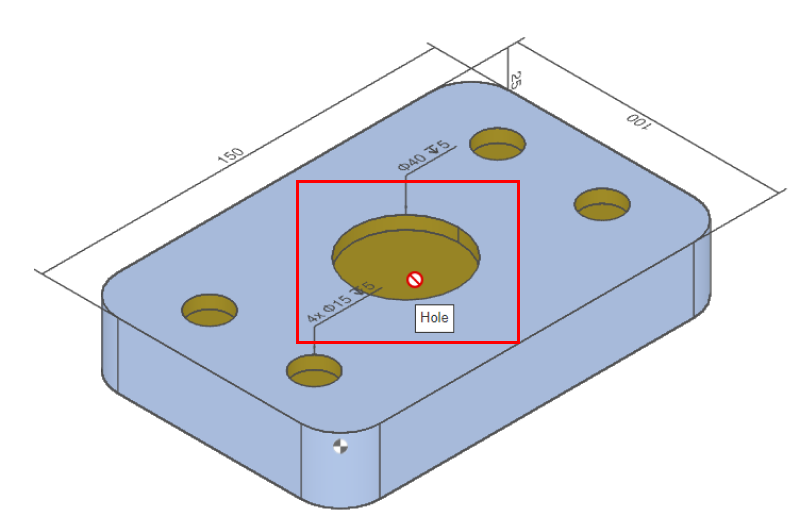
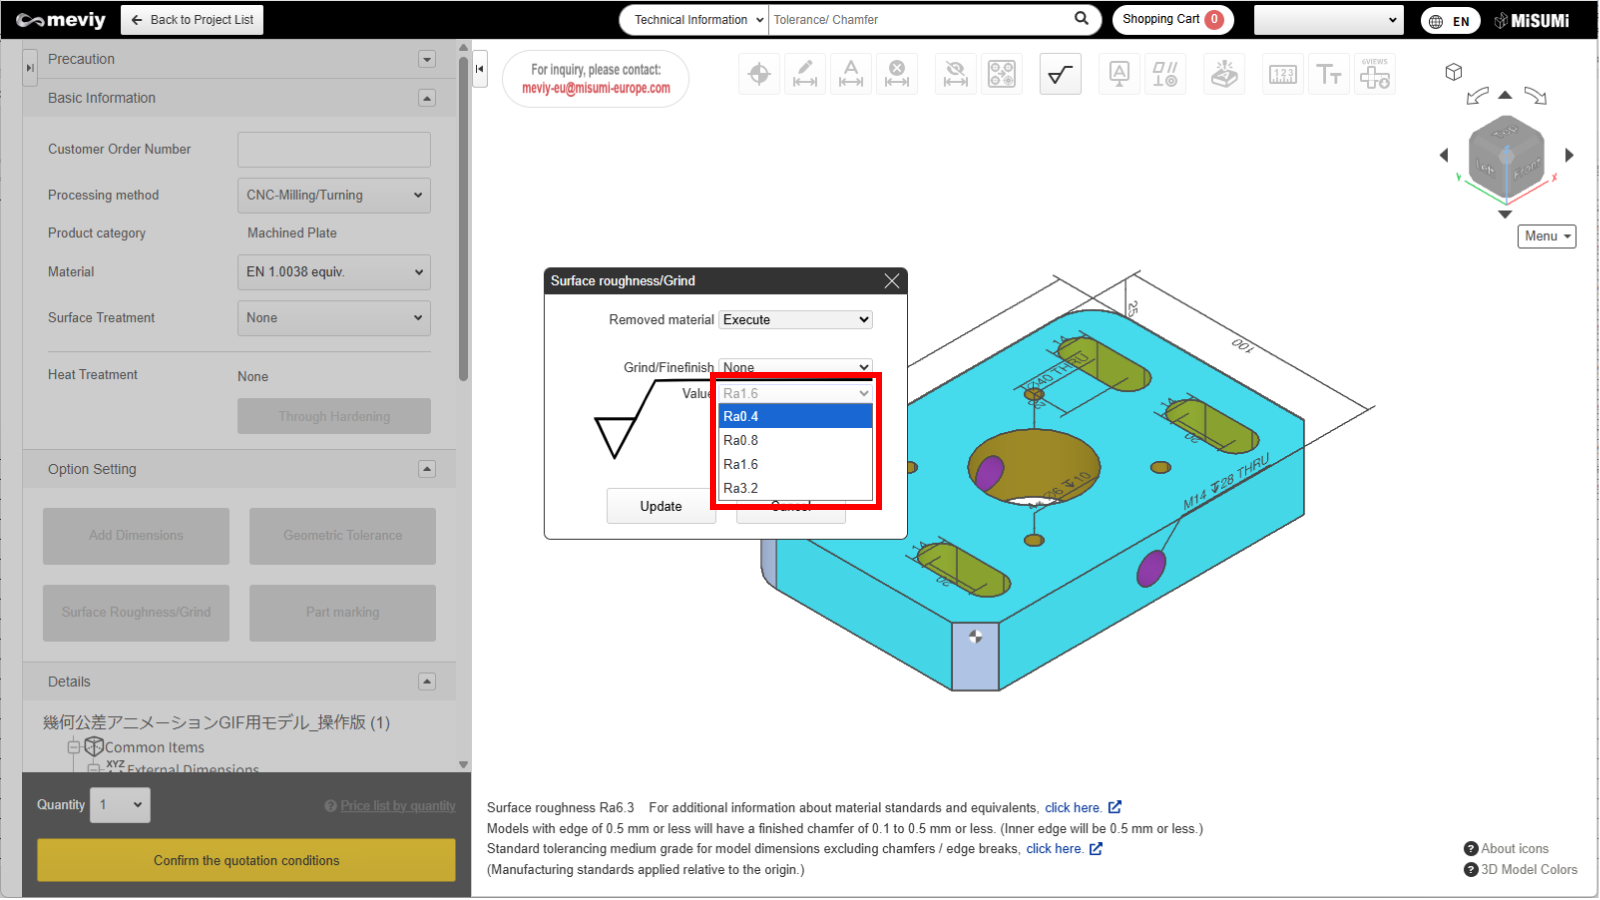
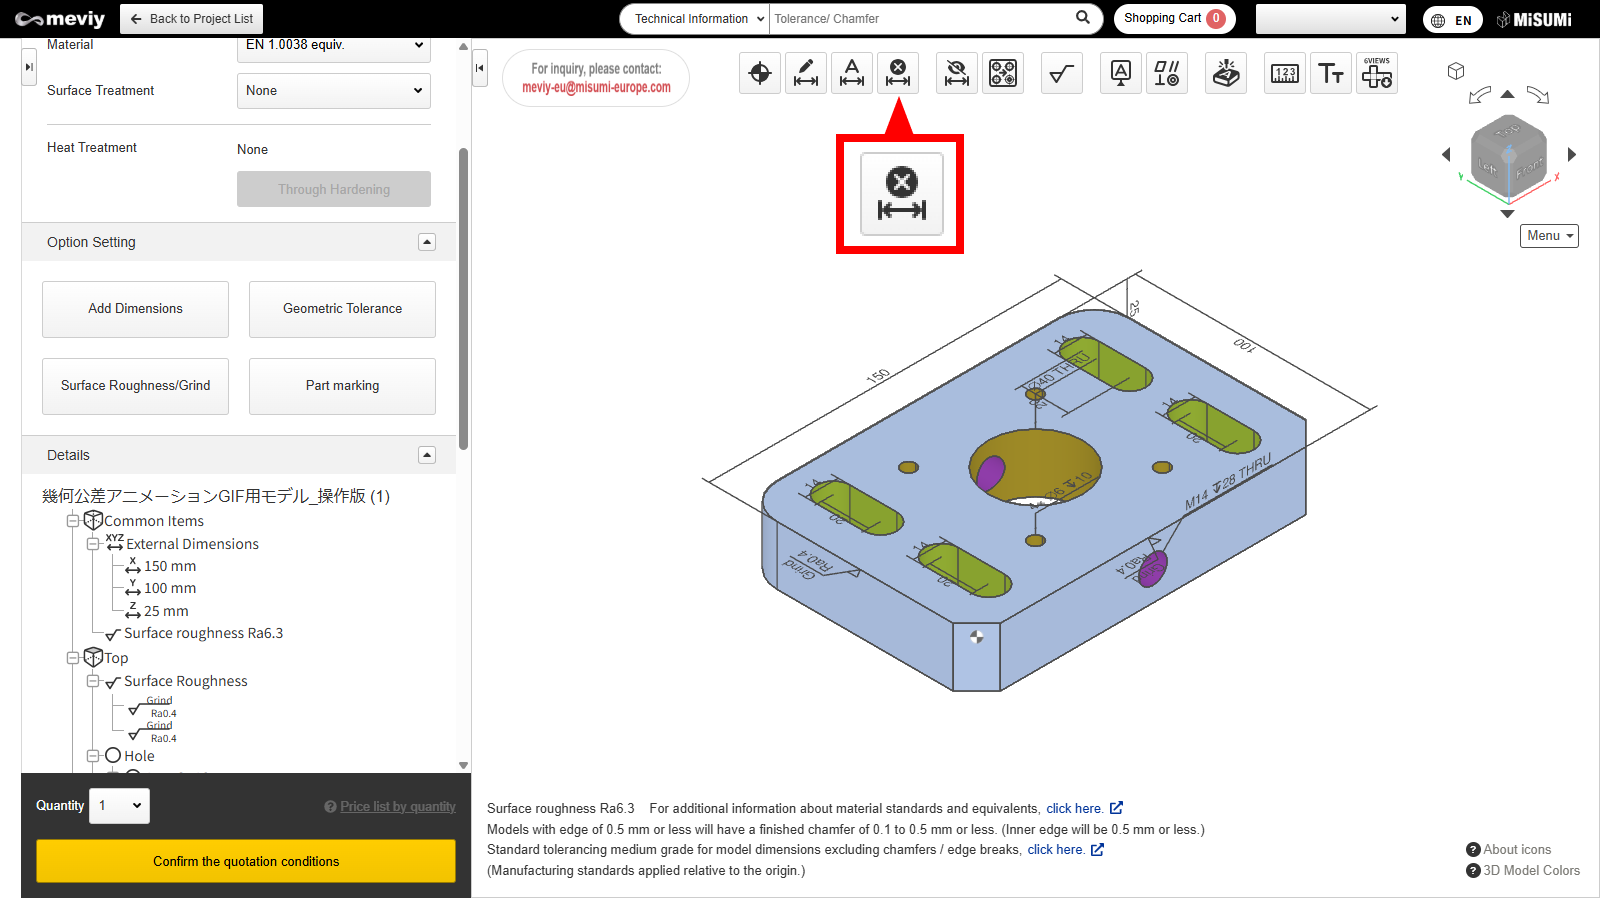
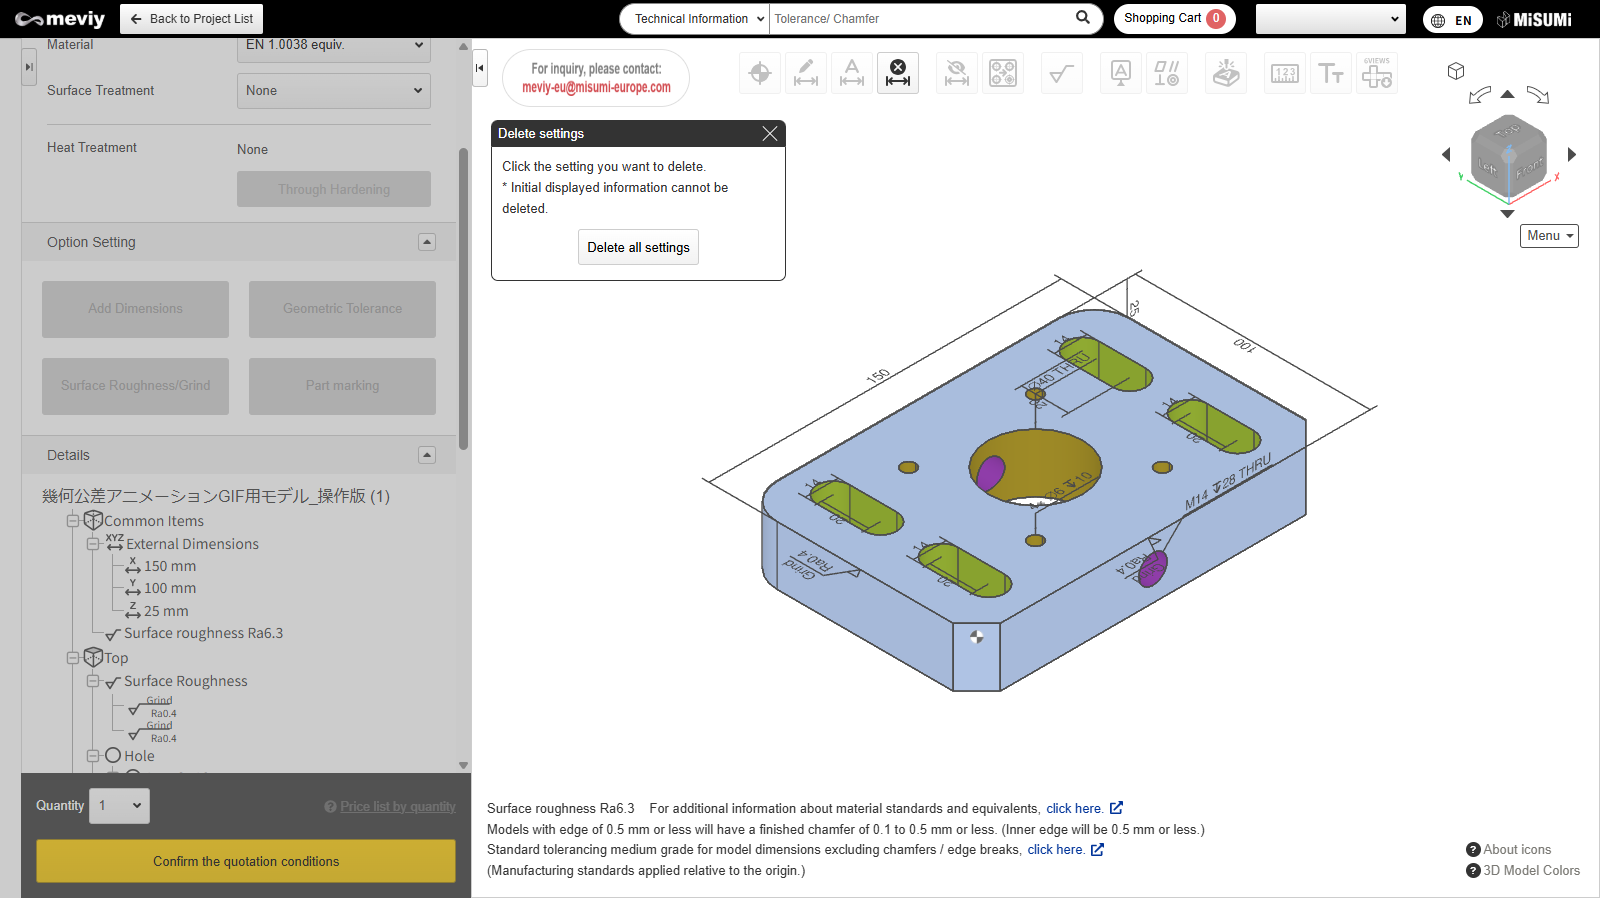
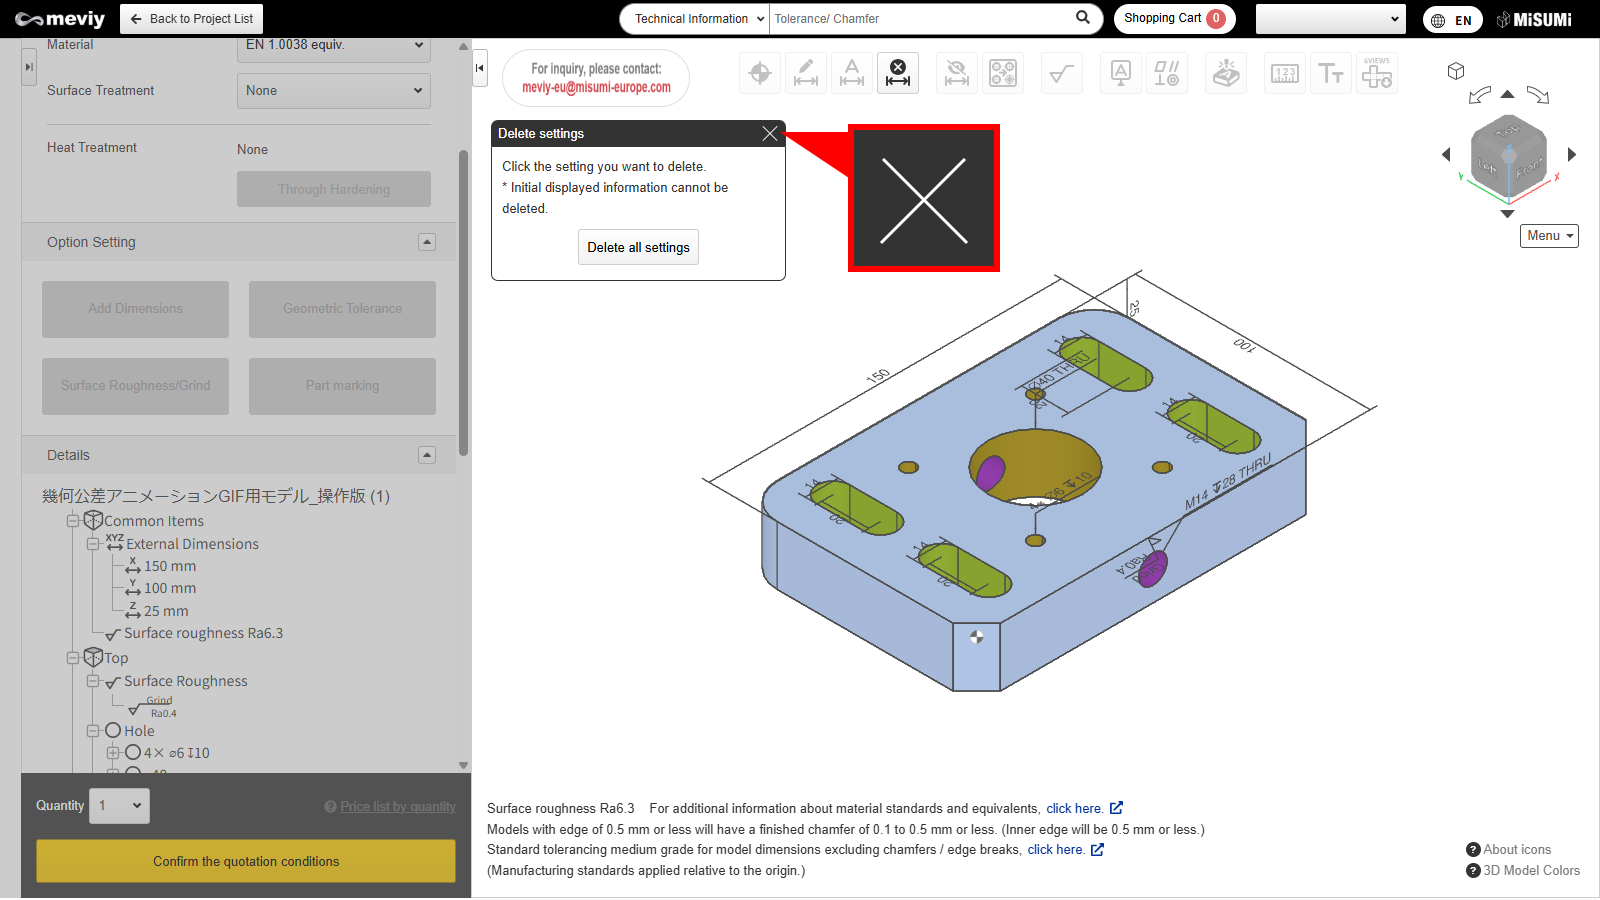
It can not be selected It can not be selected
3.Select the area where the surface roughness is to be specified and click "OK. To set the same surface roughness on multiple surfaces, select the surfaces to be specified consecutively and click "OK".
4.Select the surface roughness value.
5.Different processing options are available.
  • Grind
  • Finefinish

You can choose between these options.

Caution

Some options may not be available depending on the material. A relief shape may be required for grinding.
6.Follow the dialog, select a value and click "Update".
7.The added surface roughness can be viewed on the 3D model and tree view.
8.To change the specified surface roughness, click the surface roughness symbol in the tree under details or on the viewer to display the surface roughness dialog box and update the settings.

Caution

It is not possible to change the surface roughness of multiple surfaces at once.

Delete surface roughness

1.Select Delete settings from the icons at the top. You can also use the shortcut key (D) to select it.
2.The message "Click the setting you want to delete." is displayed. Then select the surface roughness that you want to delete. When you hover a cursor on it, the corresponding surface roughness will glow blue. It would be deleted after you click it.

Caution

Please note that clicking the “Delete all settings” button will delete all settings you have defined.
3.Delete process was completed. Press Esc key or click × button to exit from the Delete settings.

Recently viewed articles