- HELP
- How to use
- Quotation conditions settings
- [Welded Sheet Metal] Quotation Settings
- Quotation Procedure
Quotation Procedure
After logging in to meviy, follow the steps below to get quotes and place orders based on 3D data of Welded Sheet Metal parts.
STEP 1: Automatic Hole Type Recognition Settings
- If you are uploading a neutral format, configure the settings for the CAD software used for modeling.
- On the meviy platform, the hole type is identified by referencing the hole diameter in the 3D CAD data against the hole information database.
- Configuring the settings for the CAD software used for the modeling improves the accuracy of the hole type identification.
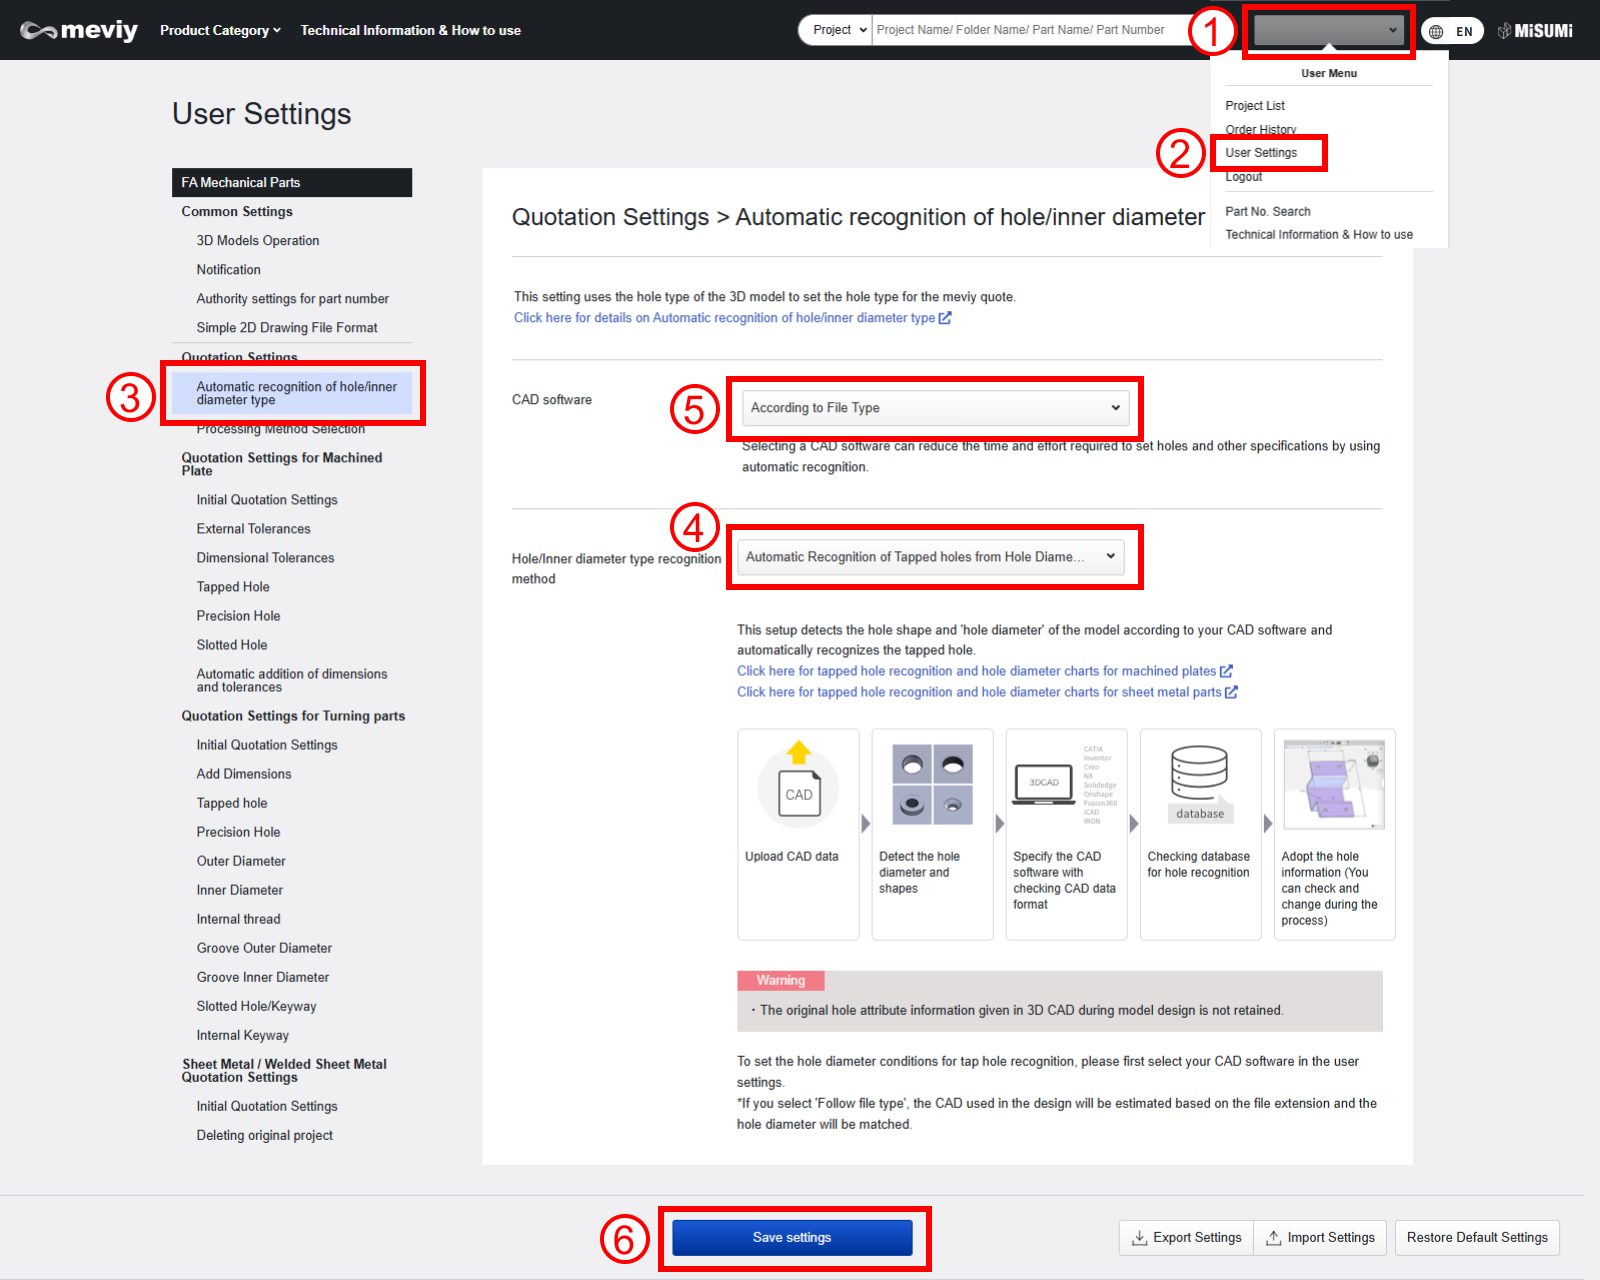
Point the mouse to the user name in the upper right corner of the screen. The “User Menu” will appear.
Choose “User Settings”.
Choose “Automatic Hole Type Recognition Settings.
Select the hole type recognition method. →Details of each setting method
Set the CAD software used for modeling in the hole diameter condition of tap hole recognition.
Choose “Update”.
STEP 2: Upload the 3D CAD Data
■ Standard Operation Manual Capture (ULMotion Path)
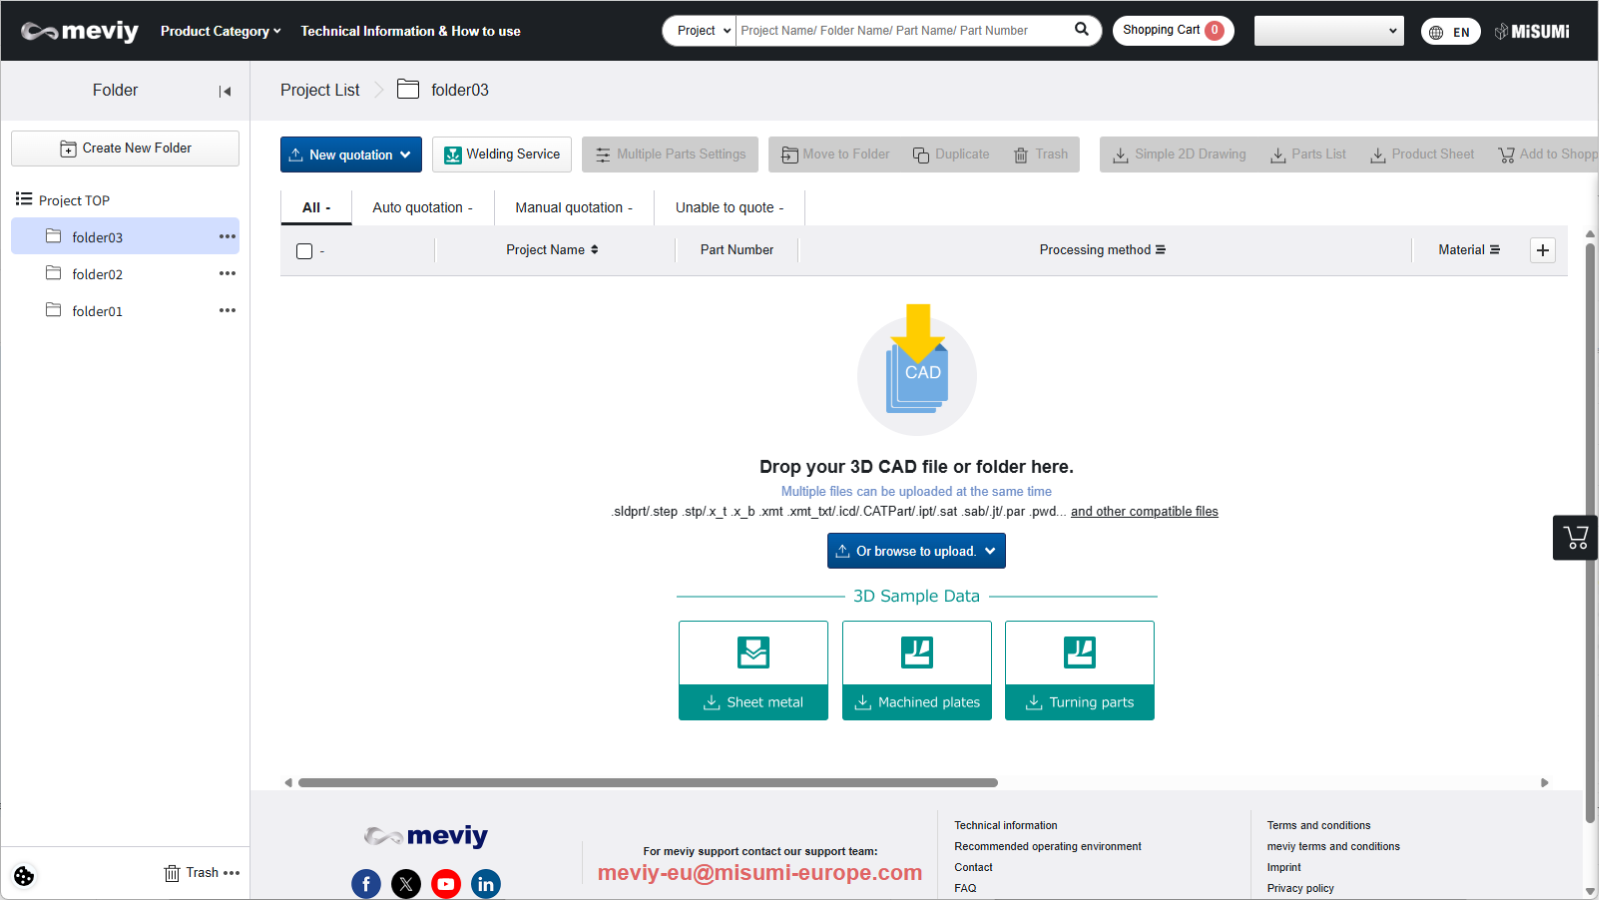
Upload the 3D CAD data. → “Uploading 3D Data“
- Proceed to “STEP3: Create a Welded Sheet Metal project“.
Notes
You cannot change the processing method between machined parts/sheet metal parts ⇔ Welded Sheet Metal parts on the Project List screen.
STEP3: Create a Welded Sheet Metal project
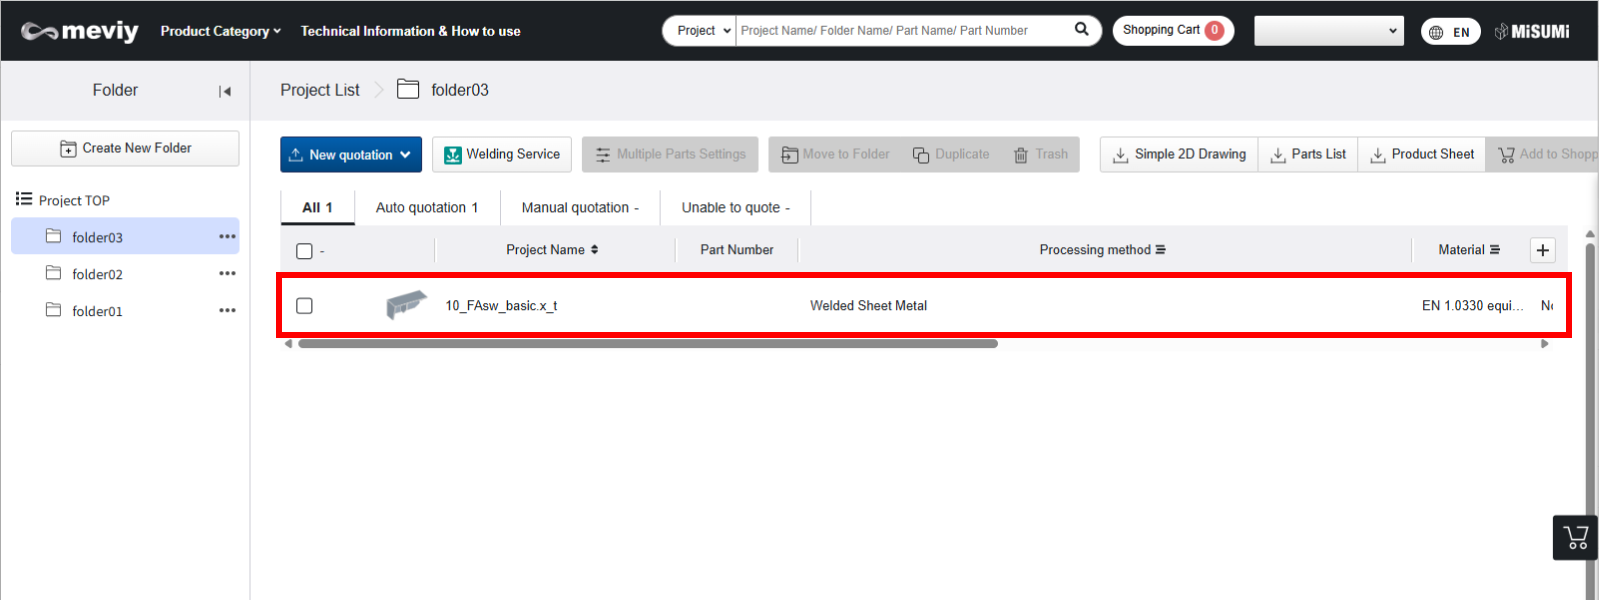
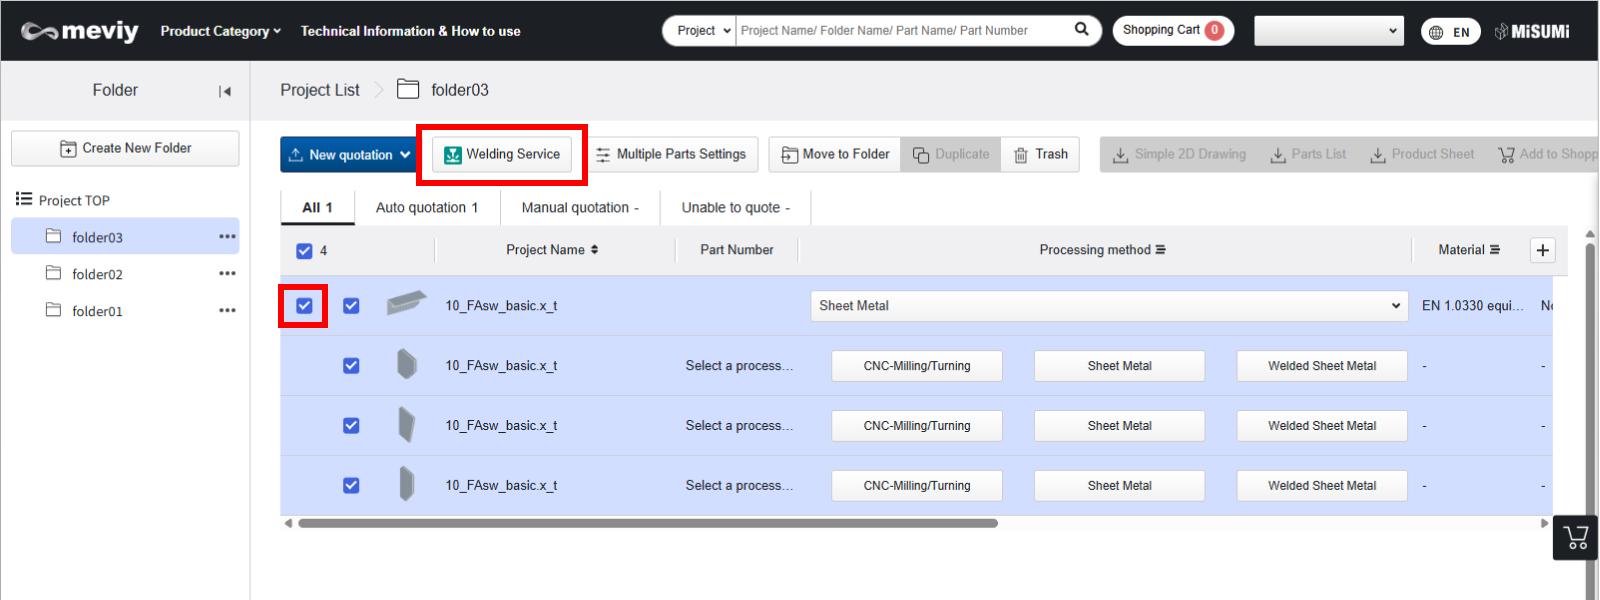
- Select the project you wish to quote for Welded Sheet Metal Regardless of the currently selected processing method, all 3D data included in the project will be included in the quotation.
- Clicking the [Make Welded Structure] button creates a new project with the processing method set to Plate Welding at the top.
- Note: Upon creating a plate welding project, the original project with the checkbox selected will be automatically deleted.
Tip

-
- [Make Welded Structure] You canalso choose to keep the original project checked before execution.
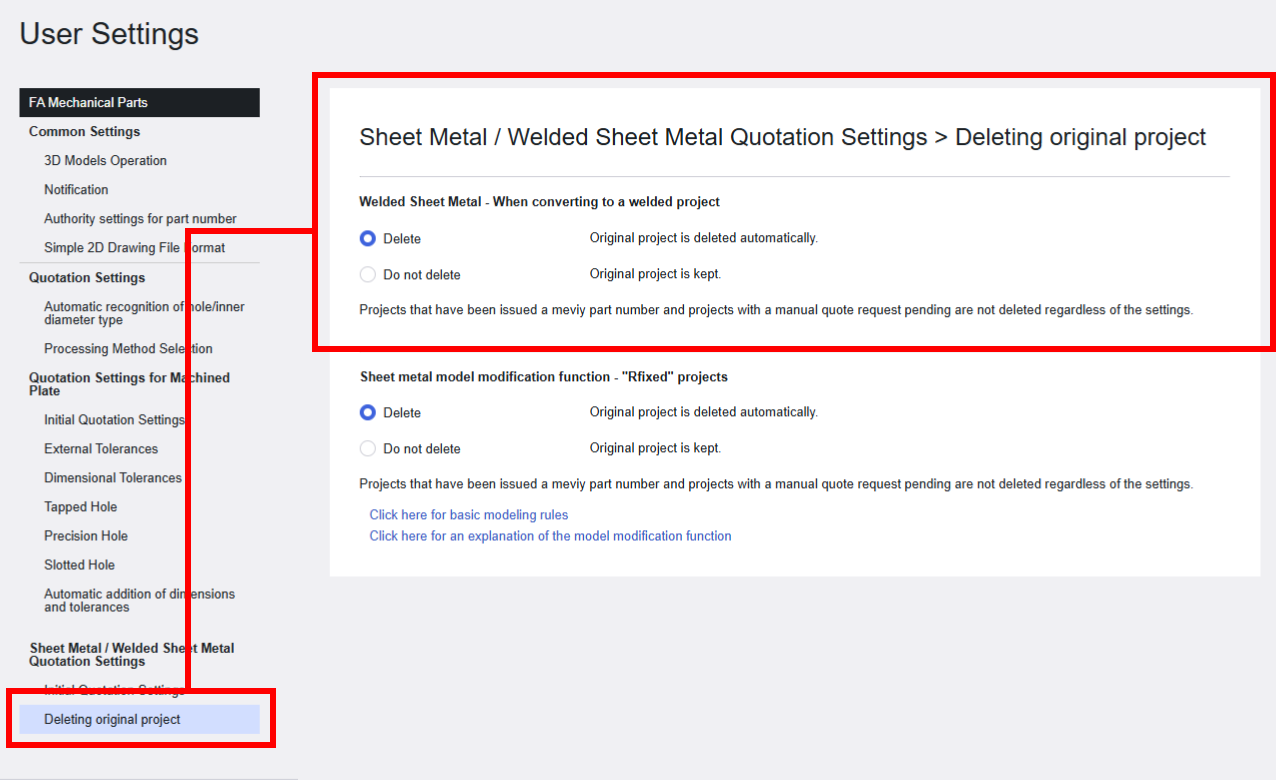
- In that case, go to User Settings > [Delete Plate Welding quotations] > [Delete Original Project] in User Settings and change it to “Do Not Delete”.
- *The default setting is “Delete,”so the original project will be automatically deleted.
STEP4: Set/Change Quotation Conditions
Set or modify the quotation conditions as needed.
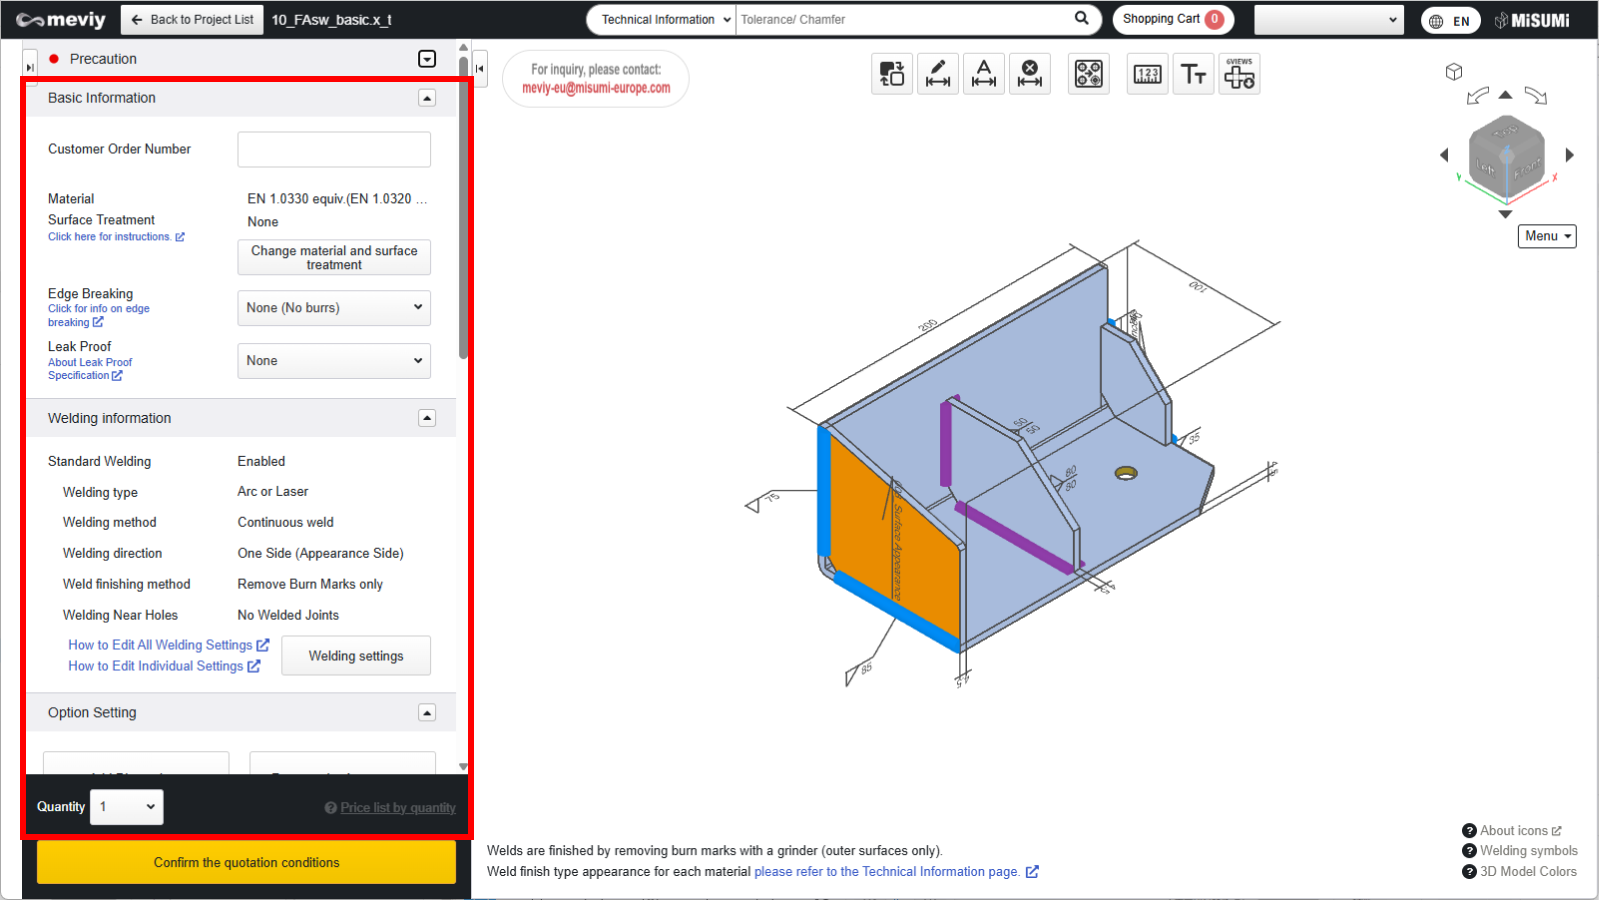
- Set basic quotation conditions such as quantity changes, material/surface treatment changes, welding instruction changes, custom customer order number settings, and additional work instruction entries. → “Set Basic Information“
- Review the imported 3D data information and make corrections if necessary.
Change hole type → “Change Hole Information“
Add/Remove Dimensions → “Add/Remove Dimensions“
Split holes grouped during shape recognition → “Split Grouped Holes“
Edit plate welding processing information → “Set Welding Information“
Tip
Using keyboard shortcuts is convenient → “Keyboard Operations“
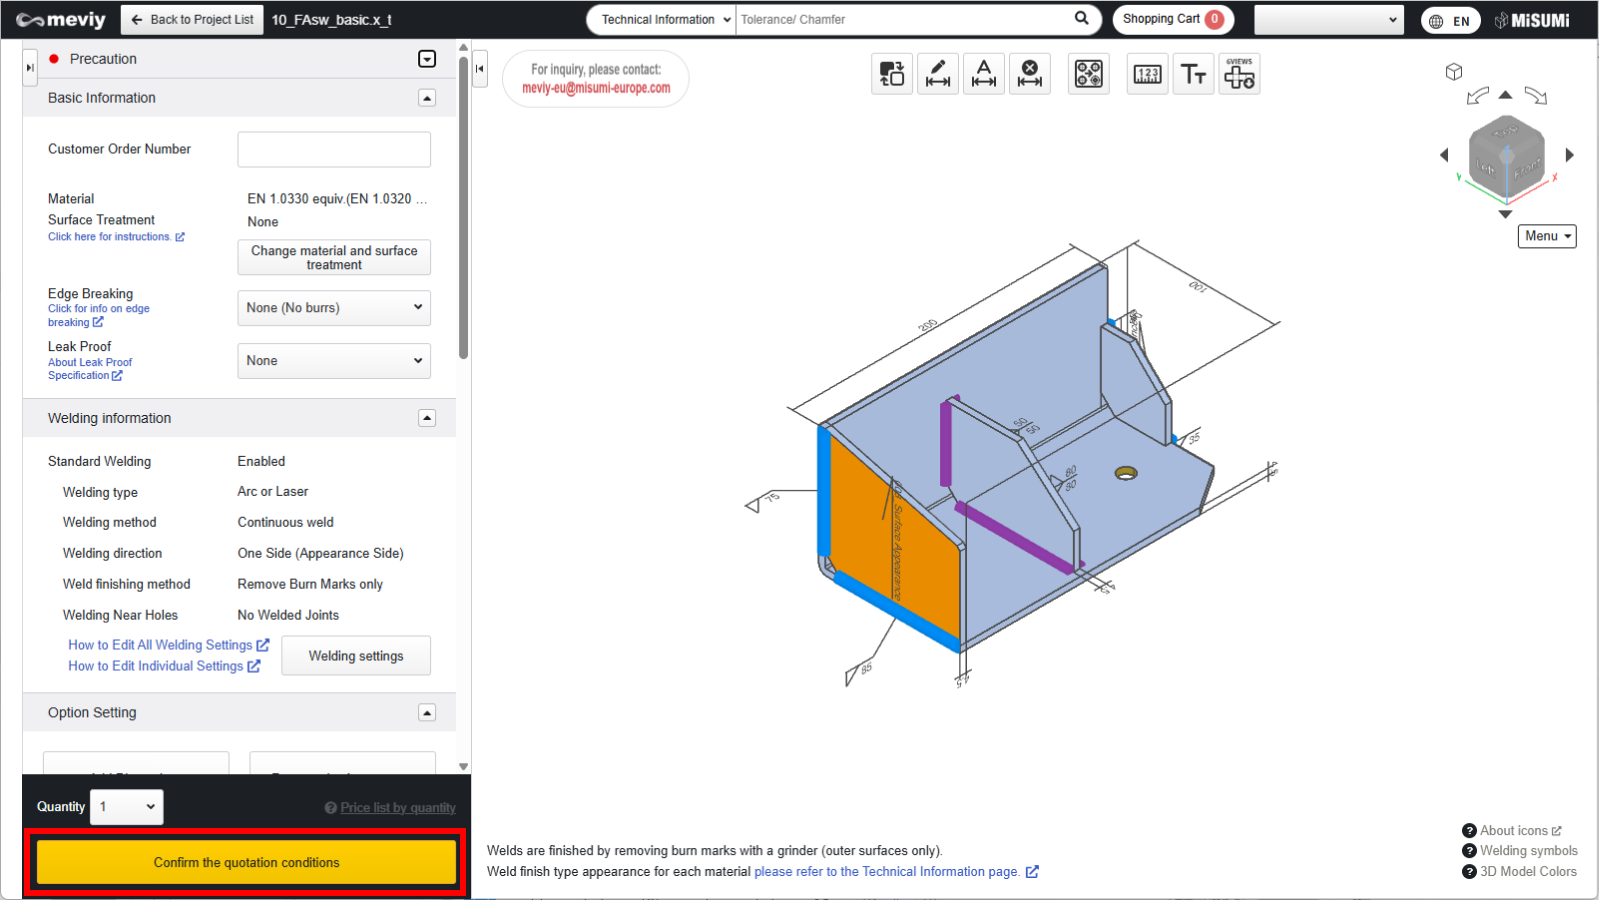
STEP5: Finalize Quotes and Obtain Part Numbers
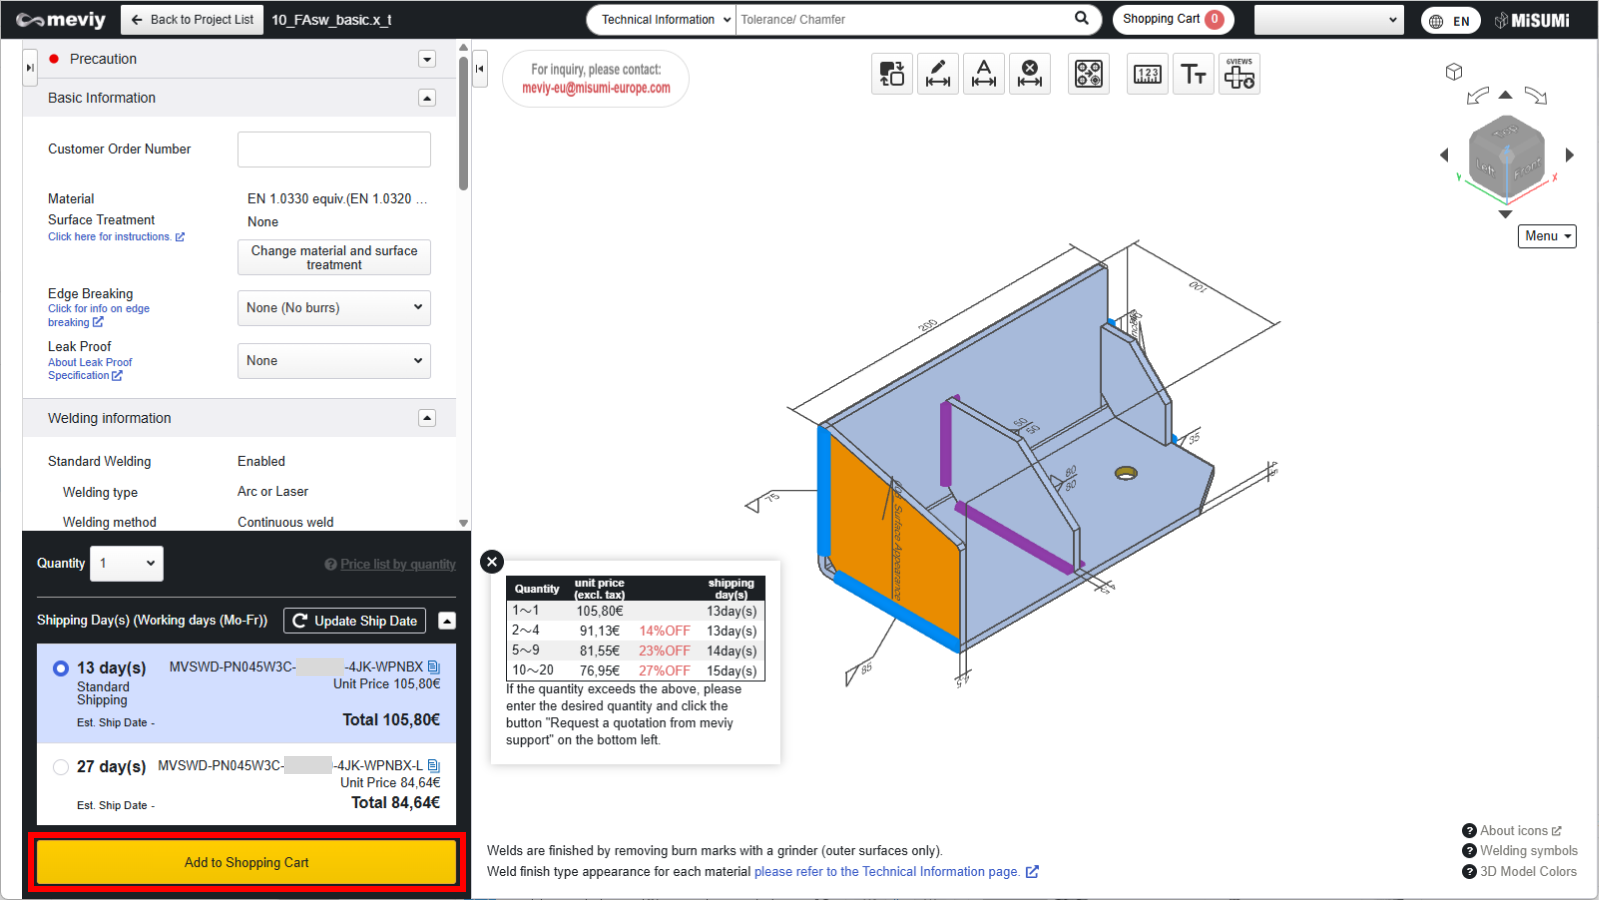
STEP 6: Add to Cart
After obtaining the part number, return to the project list screen.
Check the parts you wish to order and click the “Add to Cart” button.
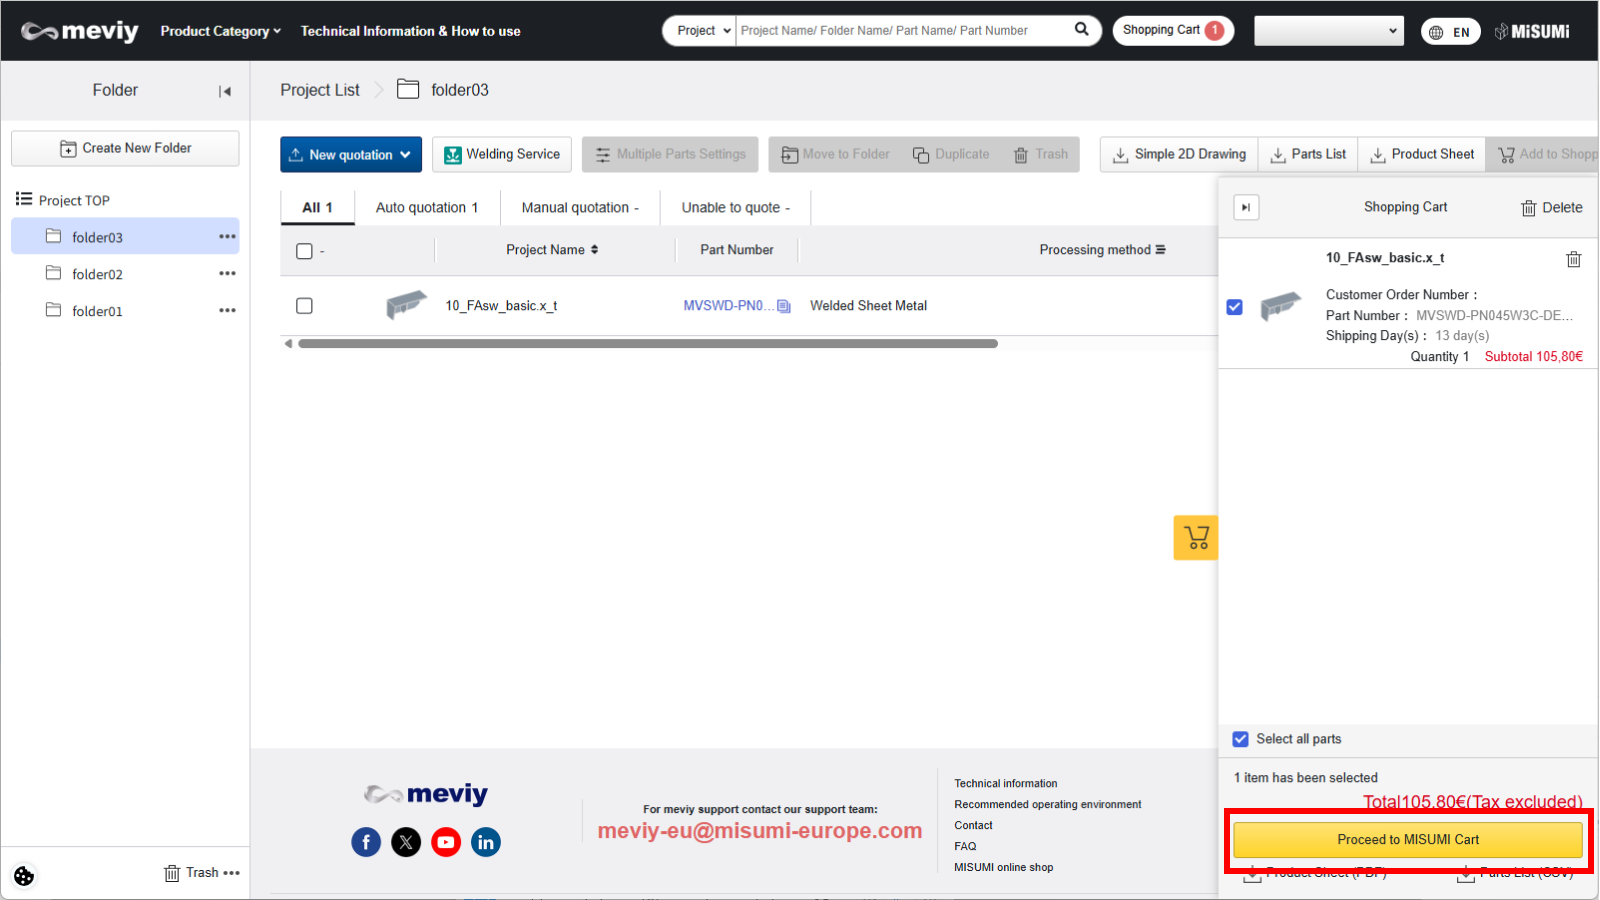
STEP7: Check the cart, then order
- Open cart screen.
- Check the parts you wish to order, click “Proceed to order”, and place your order through “Entry Order” screen.